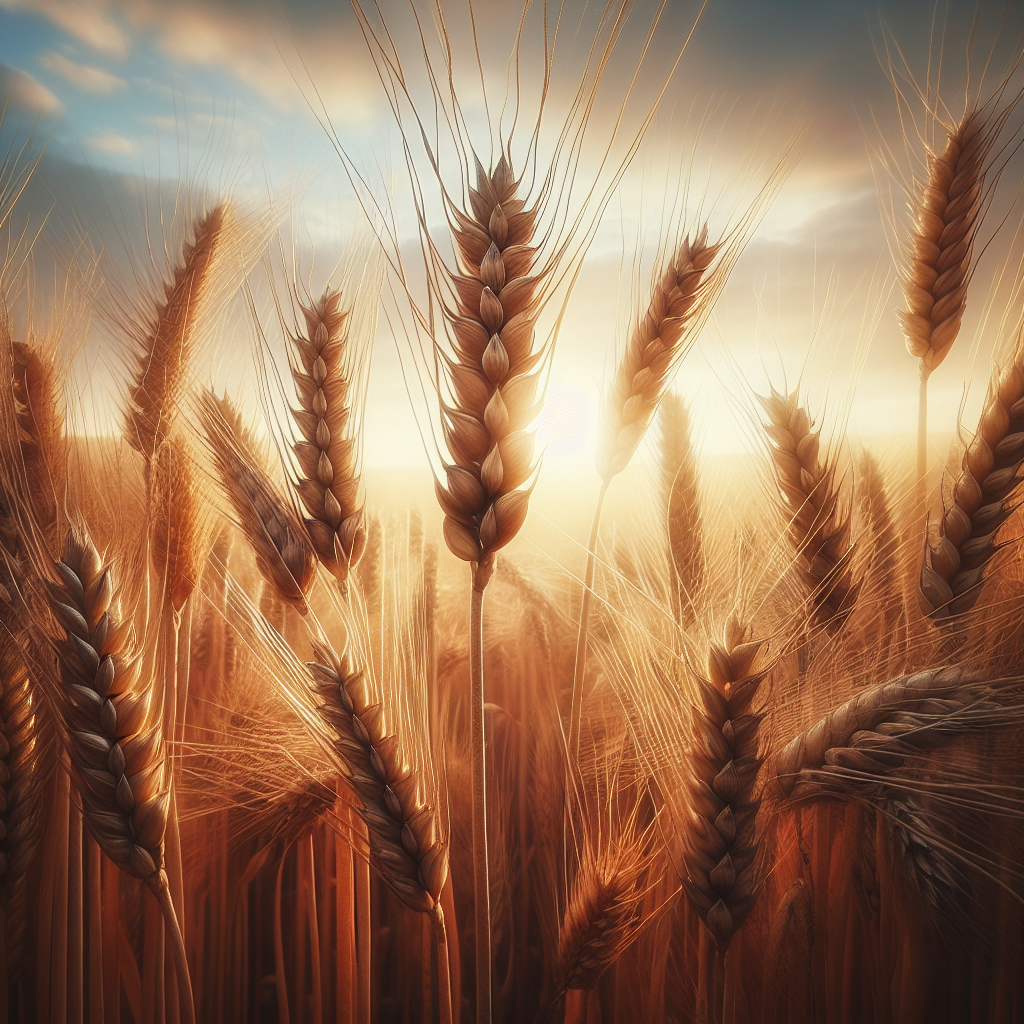
Introduction to Hard Red Winter Wheat
A cornerstone cereal of the Great Plains and many temperate grain regions, this wheat class is valued for its combination of winter hardiness, medium-to-high protein, and strong baking performance. It is a type of common wheat, not a separate species, and belongs to the broader Wheat group, but it is distinguished by kernel hardness, red bran color, and a growth habit that requires cold exposure to trigger reproductive development.
Historically, hard red winter types became dominant across the central United States after the spread of hardy, fall-sown wheats adapted to continental winters and summer drought. Their agronomic advantage is simple but powerful: plants establish roots and tillers in autumn, remain semi-dormant through winter, then resume vigorous growth early in spring when soil moisture is still available. This seasonal pattern often allows better use of winter precipitation than spring-sown cereals.
From a market standpoint, it is the classic bread flour wheat. Millers and bakers prefer it for dough strength and elasticity, especially when grain protein and test weight are high. On-farm, however, top quality depends less on one trait than on balance: uniform stand establishment, adequate nitrogen without excessive lodging, low disease pressure during heading and grain fill, and timely harvest before weathering reduces falling number and grain quality.
Botanical Profile of Hard Red Winter Wheat
This crop is an annual cool-season grass in the Poaceae family. Like other bread wheats, it produces a fibrous root system, hollow culms or stems divided by nodes, narrow linear leaves with parallel venation, and a terminal spike inflorescence bearing multiple spikelets. The grain is technically a caryopsis, in which the seed coat is fused to the ovary wall.
The growth stages are important because management decisions should match physiology. After germination, the seed first develops seminal roots, followed by leaf emergence. During tillering, auxiliary shoots arise from the crown, usually just below the soil surface. Each productive tiller can form a grain-bearing head, so fall stand establishment and early vigor directly influence yield potential. Once day length and temperature cues align after vernalization, the plant enters stem elongation, then boot stage, heading, anthesis, grain fill, and maturity.
The crown is the key survival organ in winter. If seeding depth is correct and plants harden properly in fall, the crown remains insulated below the soil surface, improving freeze tolerance. Hard red winter cultivars vary in winter hardiness, straw strength, maturity date, tillering capacity, disease resistance package, and protein potential. Semi-dwarf genetics are common because they improve harvest index and reduce lodging, but local adaptation still matters more than generic class type.
Kernel hardness comes from endosperm texture and influences milling behavior. Hard kernels fracture differently than soft wheats, producing flour with higher water absorption and stronger dough properties. The red seed coat contains phenolic compounds that can contribute to dormancy and reduced pre-harvest sprouting relative to some white wheats, which is a practical advantage in regions with wet harvest windows.
Soil, pH, and Climate Requirements for Hard Red Winter Wheat
This crop performs best in well-drained loam, silt loam, clay loam, or fertile sandy loam soils with good aggregation and moderate water-holding capacity. Ideal soil pH is generally 6.0 to 7.5, with the sweet spot around 6.3 to 7.0 for balanced nutrient availability. It can tolerate slightly more alkaline conditions than many vegetable crops, but strongly acidic soils below about pH 5.5 can reduce root growth and nutrient uptake, especially phosphorus.
Good drainage is non-negotiable. Saturated seedbeds promote poor emergence, seedling blights, shallow rooting, and winterkill risk. The top 2 to 4 inches of soil should be moist but friable at planting, not sticky or cloddy. If a squeezed handful forms a dense ribbon or leaves free water on the palm, it is too wet for field traffic and seeding. Repeated wheel compaction in wet conditions creates dense layers that restrict crown root penetration and increase drought stress later.
Climatically, it is suited to temperate regions with cool autumns, cold winters, and moderate spring conditions. Fall planting allows establishment before hard freeze, while winter chilling fulfills the vernalization requirement. Optimal germination occurs when soil temperatures are roughly 54-77°F (12-25°C), though emergence can still occur outside that range if moisture is adequate. For hardening before winter, gradual cooling is better than abrupt severe freezes following lush, over-fertilized fall growth.
Winter survival depends on cultivar genetics, snow cover, drainage, and fall growth stage. Plants entering winter with 3 to 5 leaves and 1 to 3 tillers are generally ideal. Tiny seedlings are vulnerable because they have insufficient reserves; overly lush plants are also at risk because succulent tissue is less cold tolerant and can encourage disease. During spring, the crop prefers cool to mild conditions, especially during heading and grain fill. Prolonged heat above about 86°F (30°C) during grain filling can shorten fill duration, reduce kernel weight, and lower yield.
Water demand is moderate, but timing matters more than total volume. The most sensitive periods are crown root establishment, jointing, booting, heading, flowering, and early grain fill. Soil moisture in the active root zone should ideally remain near 50-75% of available water during vegetative growth and closer to 60-80% during reproductive stages. Waterlogging symptoms include yellow lower leaves, bluish-green stunting, weak roots with brown discoloration, and uneven patches after rainfall or irrigation. Drought stress shows as leaf rolling, gray-green cast, shortened stems, reduced tillering, and light test weight at harvest.
Step-by-Step Planting & Propagation
This crop is propagated by seed and is almost always direct-drilled rather than transplanted. Begin with certified, cleaned seed of a locally adapted cultivar selected for winter hardiness, rust resistance, straw strength, and intended end use. Seed treatments approved for your production system can help suppress seedborne and soilborne fungi, especially in early sowings or cool, wet soils.
Start with a soil test 2 to 6 months before planting. Pay special attention to pH, phosphorus, potassium, sulfur, and residual nitrate. Base amendments on expected yield and local recommendations rather than applying blanket fertility rates.
Prepare a firm, level seedbed or use no-till drilling into residue. The goal is consistent seed placement and strong seed-to-soil contact. Excessive tillage dries the surface, increases erosion risk, and can create a fluffy seedbed that causes uneven emergence.
Plant in autumn, usually 2 to 6 weeks before the average first hard freeze, adjusted by latitude, elevation, and cultivar maturity. The objective is enough time for emergence, crown development, and some tillering, but not so early that plants become overly rank.
Calibrate the drill carefully. Typical seeding rates range from about 60 to 120 pounds per acre, but the better metric is viable seeds per square foot. In lower-rainfall or early-planted systems, 20 to 25 viable seeds per square foot may be sufficient. In late planting, high-residue, or marginal establishment conditions, 25 to 35 viable seeds per square foot is often safer.
Place seed 1 to 1.5 inches deep in medium-textured soils with adequate moisture. In drier soils, depth may increase to 1.5 to 2 inches to reach moisture, but avoid going so deep that emergence weakens. Too-shallow placement can expose the crown to cold injury; too-deep placement delays emergence and reduces vigor.
Maintain row spacing commonly between 6 and 10 inches for drilled grain. Narrow rows improve canopy closure and weed suppression. Wider rows may be used in low-input or interseeded systems but often reduce competitive ability against weeds.
After planting, inspect emergence within 7 to 21 days depending on temperature. A strong stand is even, with healthy green seedlings and a properly positioned crown below the surface. Dig a few plants rather than judging only from aboveground appearance.
In diversified systems, some growers integrate cover crops or follow grain with legumes. Rotations with Soybeans are especially common because they can improve system nitrogen efficiency, break disease cycles, and spread labor. For broader rotational principles that support wheat performance, see soil health strategies.
Care & Maintenance regimes for Hard Red Winter Wheat
Nutrient management should be split between establishment and spring demand. Phosphorus is especially important near planting because it supports root growth and tillering; if soils test low, banding near the seed row is often more effective than surface application. Potassium supports water relations and stem strength, while sulfur is increasingly important in high-yield systems and sandy or low-organic-matter soils.
Nitrogen is the main driver of yield and protein, but it must be managed with restraint. Too little nitrogen produces pale green foliage, reduced tillering, low biomass, and poor grain protein. Too much, especially early, can create lush fall growth, winter injury risk, disease pressure, and lodging. A common professional approach is modest N at or before planting where needed, followed by topdressing in late winter to early spring based on stand density, yield goal, residual soil N, and moisture outlook. Tissue color, canopy vigor, and local sensor-guided approaches can refine timing.
Irrigation, where used, should maintain uniform moisture without prolonged saturation. A practical target is to avoid depletion below roughly 50% of available water during tillering and below about 35-40% during boot to milk stage. Critical irrigation windows are crown root initiation, jointing, booting, flowering, and early dough. If water is limited, prioritize the period from jointing through early grain fill. Avoid frequent shallow irrigation that encourages shallow rooting; instead, apply enough to wet the main root zone, then allow partial drying before the next irrigation.
Weed control is most important from establishment through stem elongation. A dense, evenly established stand is the first line of defense. Delayed planting into a stale seedbed can reduce early weed flushes in some systems. In organic production, tine weeding or rotary hoeing is possible only at precise timings and usually works best before crop emergence or at very early weed stages. Once the crop canopy closes, competitive suppression improves.
Lodging prevention combines cultivar choice, balanced fertility, and sensible irrigation. Lodged wheat suffers from reduced photosynthesis, harvest losses, and higher disease risk. Warning signs include excessively dark green, rank growth; long, weak internodes; and dense canopies after high nitrogen input. Semi-dwarf cultivars and moderate late nitrogen rates usually reduce risk.
Spring scouting should be disciplined and stage-based. Count tillers, inspect lower stems and crowns, note uniformity, and track leaf health on the upper canopy as the crop approaches flag leaf emergence. The flag leaf and the leaf just below it contribute heavily to grain filling, so protecting them from severe disease or nutrient deficiency has outsized importance.
Pests, Diseases & Organic Management
The major disease complex includes Rusts, Powdery mildew, Septoria and Tan spot leaf blotches, Common root rots, Take-all in some rotations, Loose smut, Bunt diseases, Fusarium head blight in humid flowering periods, and various Viral diseases vectored by insects. The severity depends heavily on weather, residue, cultivar resistance, and planting date.
Rusts deserve special attention. Leaf rust typically appears as orange-brown pustules scattered on leaves and can reduce photosynthetic area rapidly in favorable conditions. Stripe rust often forms yellow linear pustules and prefers cooler, moist weather. Stem rust is less common in many regions but can be devastating. The most effective integrated defense is resistant cultivars, followed by crop rotation, volunteer wheat control, and protecting the upper canopy when necessary.
Fusarium head blight risk rises when warm, wet conditions coincide with flowering. Bleached spikelets, pinkish fungal growth on heads, shriveled kernels, and mycotoxin contamination are the major concerns. Rotate away from heavily infested cereal residues, avoid overly susceptible cultivars, and manage residue thoughtfully where risk is chronic.
Common insect pests include Aphids, Hessian fly, Armyworms, Cutworms, Wireworms, and occasional Cereal leaf beetle depending on region. Aphids are doubly important because they can directly feed and also vector Barley yellow dwarf virus. Fields planted too early often face greater fall aphid and fly pressure. Destroy volunteer cereals at least 2 weeks before planting to break the green bridge that carries pests and viruses between crops.
Organic management relies on prevention more than rescue. Use resistant cultivars whenever available, rotate out of cereals for at least one season when disease pressure is high, and avoid excessive nitrogen that creates lush, susceptible growth. Encourage beneficial insects by maintaining field margins with flowering habitat, but keep grassy weeds and volunteer cereals under control because they harbor pests. Seed sanitation and clean equipment reduce movement of seedborne issues.
For disease diagnosis, inspect roots, crowns, stems, leaves, and heads separately because symptoms can overlap. Root disease often shows as stunting and patchiness; foliar disease typically begins on lower leaves or in humid canopy zones; head disease emerges around flowering to soft dough. Timely identification matters because late interventions rarely recover lost yield potential.
Harvesting, Curing & Optimal Storage
Harvest timing is critical because grain quality can decline quickly after maturity. Physiological maturity occurs when kernel dry matter is complete, but combine harvest usually begins when grain moisture falls to around 12-14% for safe storage, or slightly higher if grain will be dried immediately. Delaying harvest increases risk of shattering, lodging, weather staining, sprouting in the head, insect attack, and lower test weight.
Visual indicators include loss of green color from stems and heads, firm kernels that are no longer dented by thumbnail pressure at full ripeness, and straw that is mostly dry. Do not rely on appearance alone; use a moisture meter. Harvesting at 16-20% moisture may be justified if weather threatens and aeration or drying is available.
Combine settings must be adjusted to minimize cracked grain, unthreshed heads, and excessive screenings. Reel speed should match forward movement closely enough to feed heads without shelling grain. Cylinder or rotor speed, concave clearance, sieve settings, and fan speed all need to reflect kernel condition and straw dryness. Check grain tank samples frequently during the day because conditions change as humidity shifts.
If grain moisture exceeds safe storage limits, dry promptly. For seed wheat, use lower drying temperatures to preserve germination. For commercial grain, moderate heated air or strong ambient aeration may be used depending on climate and bin design. The goal is stable storage moisture, generally about 12% for warm conditions and up to around 13-14% in cooler climates with excellent aeration. Long-term storage safety improves as grain temperature decreases.
Store only clean grain in sanitized bins. Remove old grain residues, dust, and insect harborages before filling. Level the grain surface, run aeration fans to equalize temperature, and monitor regularly for heating, condensation, crusting, off odors, or insect activity. A hot spot often begins with moisture migration and can turn into mold growth quickly. Grain should smell clean and slightly sweet; musty or sour odors indicate trouble.
Quality parameters worth monitoring include test weight, protein, falling number where relevant, dockage, and visible disease damage. High-protein, sound hard red winter wheat earns its reputation in the bakery market only if storage preserves those qualities.
Companion Planting for Hard Red Winter Wheat
In broadacre grain systems, companion planting is less about close garden-style pairing and more about strategic intercropping, border plantings, nurse crops, or rotational companions that improve soil, pollinator support, and pest balance. The best companions are species that do not strongly compete at the same time for light, water, and nitrogen.
Peas and Lentils are valuable legume companions in diversified dryland systems because they help broaden rotations, interrupt cereal disease cycles, and may improve soil nitrogen dynamics over time. They are usually better used in rotation or strip systems than fully mixed with wheat when grain harvest logistics are important.
Flax is another useful companion or rotation partner because it breaks grass-crop pest cycles and has a contrasting rooting pattern and residue profile. In some mixed farming systems, it helps diversify marketing and reduce disease carryover associated with repeated cereals.
Garlic is not a conventional field-scale companion, but along garden edges or small plots it can contribute to biodiversity and may help discourage some pests in adjacent beds. For smallholders, the more important principle is to avoid pairing wheat with another heavy grass competitor such as barley or rye in the same tight space unless the purpose is forage rather than grain.
The best practical companion strategy is often temporal rather than simultaneous: sow wheat after a clean, broadleaf legume phase; maintain diverse field margins; and follow wheat with a soil-building cover crop where moisture permits. This improves overall system resilience without compromising harvest efficiency.