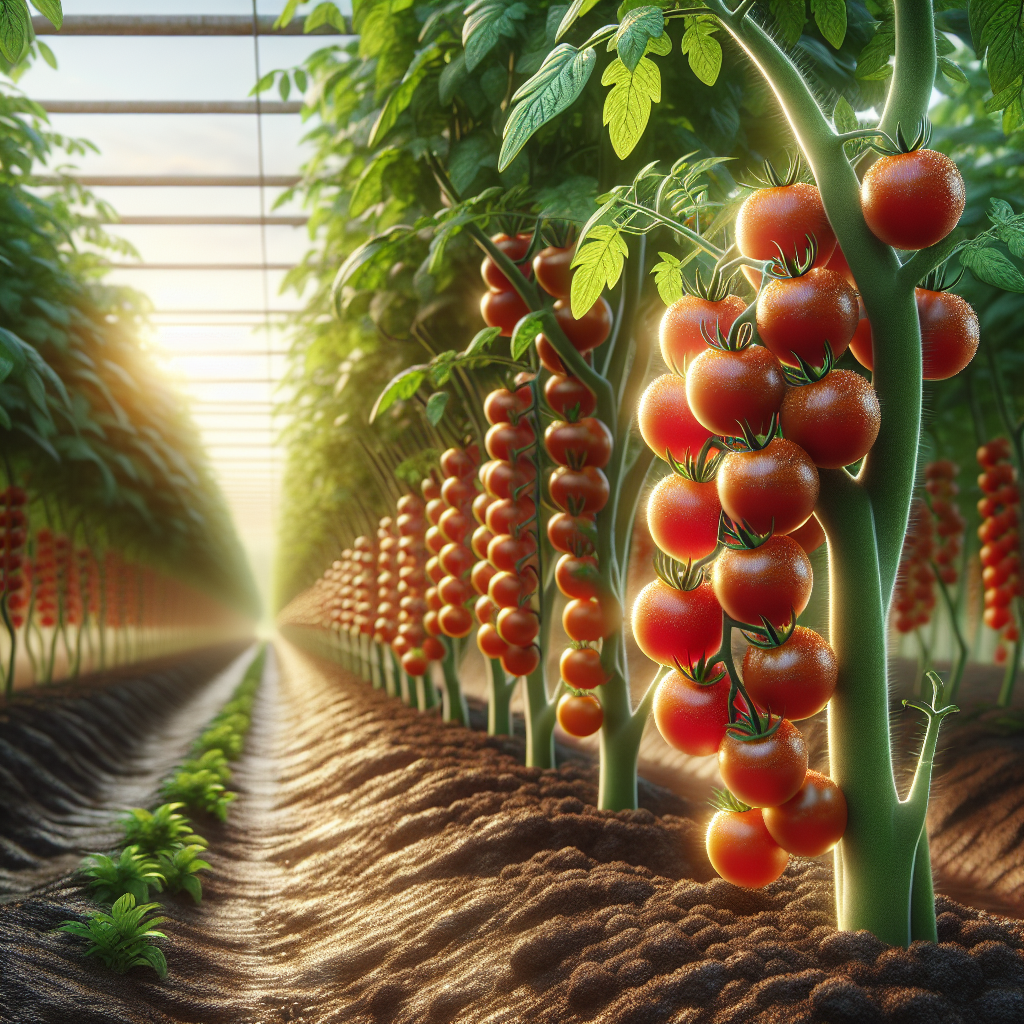
Introduction to Grape Tomato
Small, oval, and notably meaty for their size, these tomatoes are bred to combine the snackable sweetness of cherry types with better firmness, transportability, and shelf life. The modern grape tomato rose to commercial prominence in the late 20th century as breeders selected for thicker skins, reduced cracking, uniform clusters, and reliable yields under field and protected-culture conditions. Compared with round cherry types, grape tomatoes usually have a denser interior, slightly lower juice content, and a more elongated fruit shape, making them especially useful for fresh eating, roasting, salads, lunchbox markets, and high-turnover direct sales.
From a production standpoint, this crop is often more forgiving than large slicer tomatoes because the fruit are less prone to catastrophic cracking and bruising, but it is not maintenance-free. Consistent calcium movement, stable irrigation, careful nitrogen management, and strong canopy support are still essential if you want long picking windows and premium-quality fruit. For broader species-level background, see our Tomato guide. If you want to refine long-term fertility before transplanting, review soil health strategies.
Botanical Profile of Grape Tomato
Botanically, grape tomato belongs to the nightshade family, Solanaceae, and is classified within Solanum lycopersicum. Many horticultural references group small-fruited tomatoes, including cherry and grape forms, within var. cerasiforme, though in practical agriculture the commercial distinctions are based more on fruit shape, firmness, flavor, and growth habit than strict taxonomy. Plants have a vining growth pattern, glandular foliage, yellow bisexual flowers, and self-pollinating blossoms that set best when daytime temperatures are warm but not extreme.
Typical fruit weight ranges from about 8 to 20 grams, depending on cultivar and harvest stage. Fruit are generally oval to oblong, often borne in trusses, with two seed locules and a relatively thick epidermis compared with delicate cherry tomatoes. This thicker skin helps resist splitting after irrigation or rain events but can become uncomfortably tough if harvest is delayed in hot weather. Soluble solids often sit in a moderate-to-high range for fresh-market tomatoes, and flavor usually balances sugar with enough acidity to prevent blandness.
Most grape tomato cultivars are indeterminate, meaning they continue vegetative growth and flowering over a long season. That gives high cumulative yields but also demands trellising, pruning decisions, and sustained nutrient delivery. Semi-determinate selections exist and are useful where staking labor is limited. Disease resistance packages vary widely; common bred-in traits may include resistance or tolerance to Fusarium Wilt races, Verticillium Wilt, nematodes, and occasionally Tomato mosaic virus or leaf mold. Cultivar selection should be based on your climate, disease history, and whether your market prefers sweeter thin-skinned fruit or firmer shipping-quality fruit.
Soil, pH, and Climate Requirements for Grape Tomato
This crop performs best in deep, friable, well-drained loam or sandy loam with strong organic matter content and good calcium availability. Ideal soil pH is 6.2 to 6.8. Plants can still produce in soils from about 5.8 to 7.2, but nutrient efficiency starts to suffer outside the optimum range. Below pH 6.0, phosphorus availability may decline and manganese or aluminum issues can increase in some soils. Above pH 7.0, iron, manganese, and sometimes boron deficiencies become more likely, often showing up as interveinal chlorosis on young leaves.
Good drainage is non-negotiable. The root system needs oxygen, and prolonged saturation quickly predisposes plants to root diseases, edema-like stress responses, poor nutrient uptake, and weak fruit set. A practical benchmark: after a thorough irrigation, soil should drain enough that the top 2 to 3 cm is no longer slick or muddy within 12 to 24 hours, while the root zone beneath remains evenly moist. If you squeeze a handful of soil from the root zone and water streams out, it is too wet; if it will not hold a weak ball at all, it is too dry.
Target soil organic matter in the 3% to 6% range where possible. Too little organic matter reduces buffering capacity and makes irrigation swings more severe. Excessively rich, undecomposed organic additions can release nitrogen unevenly and drive rampant vine growth at the expense of early fruiting. Before planting, incorporate mature compost rather than raw manure, especially in intensive systems.
Temperature has a strong effect on growth and fruit set. Ideal daytime air temperatures are roughly 21 to 29°C, with night temperatures around 16 to 21°C. Pollen viability declines when daytime temperatures exceed 32 to 35°C for repeated periods or when nights stay above about 24°C. Cool conditions below 13°C slow root function, reduce phosphorus uptake, and can cause purpling on stressed foliage. Frost is lethal. Soil temperature should be at least 16°C for active growth, though 18 to 24°C is better.
Full sun is required for top yields: a minimum of 8 hours of direct light, with 10 or more preferred. In humid regions, maximize airflow because dense foliage plus nighttime leaf wetness creates ideal conditions for foliar disease. In hot-arid climates, a light afternoon shade cloth during heat extremes can improve pollen retention and reduce sunscald without significantly reducing productivity.
Step-by-Step Planting & Propagation
Propagation is almost always by seed. Start seeds indoors 5 to 7 weeks before the expected transplant date. Sow them 0.5 to 1 cm deep in a sterile, fine-textured seed-starting mix with excellent drainage. Maintain media temperatures around 24 to 28°C for rapid germination; seeds commonly emerge in 5 to 8 days under warm conditions. Once seedlings emerge, reduce air temperatures slightly to prevent legginess: around 18 to 22°C by day and 16 to 18°C at night is effective in many nurseries.
Provide intense light immediately after emergence. Weak seedlings rarely become top performers later. Water enough to keep the media uniformly moist but never waterlogged. Seedlings should be fertilized lightly once true leaves appear, using a balanced, diluted feed. Overfeeding at this stage causes lush, brittle growth and transplant shock.
Harden seedlings for 7 to 10 days before planting out by gradually increasing outdoor exposure, reducing nitrogen, and slightly spacing irrigation without allowing wilting. Transplant only after frost risk has passed and nights are reliably mild. Seedlings should be stocky, dark green, 15 to 25 cm tall, and ideally showing a developing flower cluster without being root-bound.
Prepare beds by loosening soil to at least 20 to 30 cm deep. Incorporate compost and base nutrients according to soil test results. Raised beds are especially valuable in heavy soils because they improve drainage and warm faster in spring. Black plastic mulch can increase earliness, suppress weeds, and reduce soil splashing that spreads disease. Organic straw mulch works well after soils warm.
Space plants 45 to 60 cm apart within rows for staked systems, with 90 to 120 cm between rows. If plants are minimally pruned, give them more room. At transplanting, bury stems deeply, removing lower leaves and setting the plant so only the top cluster of leaves remains above soil. Tomatoes produce adventitious roots along buried stems, creating a larger root system and improving resilience.
Water transplants in thoroughly to eliminate air pockets. For the first week, the root zone should remain consistently moist but not saturated. Temporary transplant wilt during hot afternoons can be normal, but leaves should recover by evening. Persistent droop the next morning indicates root stress, inadequate watering, or transplant shock severe enough to require shade and recovery time.
Care & Maintenance regimes for Grape Tomato
Irrigation should be steady, not erratic. During establishment, maintain even moisture in the top 10 to 15 cm of soil. Once plants are actively growing and fruiting, water deeply enough to moisten the primary root zone to roughly 20 to 30 cm. In many field soils, this means one to two deep irrigations per week early in the season and more frequent irrigation during peak fruit load and heat. Sandy soils may require smaller, more frequent applications; clay loams require less frequent but carefully monitored watering.
A practical moisture target is soil that feels cool and slightly damp at 5 to 8 cm depth before the next irrigation, not dust-dry and not sticky-saturated. Mild midday leaf curl in heat can be normal, but dull gray-green leaves, blossom drop, and small fruit suggest drought stress. Overwatering symptoms include persistently yellowing lower leaves, soft growth, edema, poor flavor concentration, and increased incidence of root disease. Water stress followed by heavy irrigation is a classic trigger for fruit cracking and Blossom-End Rot-like symptoms due to disrupted calcium transport.
Nutrient management should prioritize balance. Excess nitrogen creates a beautiful vine and disappointing harvest. At planting, phosphorus supports rooting, while potassium becomes increasingly important from flowering onward because it influences fruit size, sugar accumulation, firmness, and disease resilience. Calcium must be present in soil and continuously supplied via transpiration-driven uptake; foliar calcium sprays can help cosmetically but do not replace proper root-zone management.
In fertile garden soils, side-dress 2 to 3 weeks after transplanting and again at first heavy fruit set. In intensive production, fertigate with modest but continuous feeding rather than large pulses. A common pattern is slightly higher nitrogen early, then a shift toward higher potassium once clusters are setting. Magnesium may become limiting in high-potassium systems, especially in containers, where interveinal yellowing on older leaves is common.
Support is essential. Cages, stake-and-weave, or trellis strings all work. Because grape tomatoes often set very heavy clusters, flimsy supports fail late in the season. Use cages at least 150 cm tall for vigorous cultivars, or stake with regular tying every 20 to 30 cm of vertical growth. Good support reduces fruit rot, improves spray coverage, and makes harvesting faster.
Pruning depends on your system. In humid climates, moderate pruning to 1 to 3 main stems improves airflow and reduces disease pressure. In dry climates, slightly fuller canopies can protect fruit from sunscald. Remove suckers below the first flower cluster if you want earlier harvest and manageable growth. Avoid extreme defoliation; foliage is the plant's carbohydrate factory, and over-pruning can reduce total yield and expose fruit to heat injury.
Mulch helps regulate moisture and suppress weeds. Apply organic mulch once soil has warmed, keeping it a few centimeters away from the stem to reduce collar rot. Weed competition should be minimized early, as young tomato plants lose momentum quickly when competing for nitrogen and water.
Container culture is possible if volume is generous. Use at least a 20-liter container per plant, though 30 liters is better for indeterminate cultivars. Media must drain freely while retaining moisture; container plants often need daily irrigation during hot weather and more frequent feeding because nutrients leach rapidly.
Pests, Diseases & Organic Management
A professional organic program starts with prevention: rotation, resistant cultivars, clean transplants, mulching, drip irrigation, pruning for airflow, and sanitation. Avoid planting after other solanaceous crops such as potato, pepper, or eggplant in the same ground for at least 2 to 3 years when possible.
Common insect pests include Aphids, Whiteflies, Flea Beetles, Tomato Hornworms, Cutworms, and Spider Mites. Aphids cluster on soft growing tips and can distort foliage while transmitting viruses. Whiteflies thrive in warm protected environments and cause sticky honeydew buildup. Flea Beetles pepper leaves with tiny shot holes, especially on young transplants. Hornworms can defoliate plants rapidly and are best controlled by daily scouting and hand removal. Spider Mites become serious in hot, dusty conditions and produce stippled, bronzed leaves.
Organic controls should be matched to the pest. Insect exclusion netting is excellent early in the season. Yellow sticky traps help monitor Whiteflies, though they are not a complete control. Strong water sprays can suppress Aphids on small plantings. Insecticidal soap works on soft-bodied pests if coverage is thorough and repeated. Neem-based products can suppress some sucking insects and fungal issues, but timing matters to avoid pollinators and leaf burn. Bacillus thuringiensis var. kurstaki is effective against young hornworm caterpillars.
Disease pressure varies by region, but the major threats are Early Blight, Septoria Leaf Spot, Late Blight, Bacterial Spot, Bacterial Speck, Fusarium Wilt, Verticillium Wilt, and Blossom-End Rot. Early Blight usually starts as dark leaf lesions with target-like rings on older foliage. Septoria causes many small circular spots that gradually defoliate plants from the bottom upward. Late Blight is more explosive, producing greasy lesions and rapid collapse in cool, wet weather. Bacterial diseases often create small dark lesions on leaves and fruit, especially after overhead irrigation or storm injury.
Blossom-End Rot is physiological, not infectious. It appears as a dark, sunken patch on the blossom end of fruit and is usually tied to irregular watering, root damage, salinity, excessive ammonium nitrogen, or poor calcium movement rather than simply low total calcium in soil. The correction is stable moisture, moderate fertility, healthy roots, and mulch—not panic spraying alone.
Organic disease management relies on clean starts and microclimate control. Water at the base, not overhead. Remove the lowest leaves once plants are established to reduce soil splash. Space adequately and avoid working plants when foliage is wet. Remove diseased leaves early and destroy severely infected plants if necessary. Copper and biological fungicides can be part of a preventative program, but they work best before disease becomes severe. Sanitize stakes and cages at season's end.
Harvesting, Curing & Optimal Storage
Harvest timing has a major effect on flavor. Fruit should be picked when fully colored for the cultivar and slightly firm, not hard. Grape tomatoes continue to color after picking, but full vine ripeness gives the best sugar-acid balance. For local fresh sales, harvest at the firm-ripe stage. For longer transport, pick at the turning to pink stage if the cultivar colors reliably off-vine.
Use gentle handling. Even though grape tomatoes are firmer than many cherry types, rough picking causes stem punctures, compression bruising, and shortened shelf life. Harvest frequently, ideally every 2 to 3 days in warm weather, because overripe fruit soften quickly and attract pests. Morning harvest after surface moisture has dried but before afternoon heat is ideal.
Unlike curing crops such as onions or winter squash, tomatoes are not truly cured. Postharvest management is instead about sorting, conditioning, and storage. Remove cracked, diseased, or insect-damaged fruit immediately. Keep harvested fruit shaded and well ventilated. Do not wash unless necessary for market preparation; if washed, dry thoroughly before packing.
Optimal storage temperature is generally 12 to 15°C with moderate relative humidity around 85% to 90%. Below about 10°C, chilling injury becomes a risk, leading to mealy texture, poor aroma development, and uneven coloration. Refrigeration is acceptable only for short-term holding of fully ripe fruit when shelf life matters more than flavor, but room-temperature finishing is better for eating quality. Under good conditions, quality grape tomatoes may hold 7 to 14 days depending on cultivar, ripeness, and handling.
For saving seed, select fully ripe fruit from healthy, true-to-type open-pollinated plants, not hybrids if you want predictable offspring. Ferment seed pulp briefly, rinse, dry completely, and store cool and dry. However, many commercial grape tomatoes are hybrids, so saved seed often segregates widely.
Companion Planting for Grape Tomato
The most useful companions are those that improve pest management, space efficiency, or root-zone use without directly competing for light and nutrients. Thai Basil is a classic pairing because its aromatic foliage may help confuse some insect pests, and its upright habit fits well near trellised tomatoes. Onion and Garlic are valuable bordering companions in diversified beds because they occupy shallow to moderate root zones, mature on a different timetable, and can help reduce overall pest pressure in mixed plantings. Lettuce can be interplanted early as a quick crop beneath young tomato canopies before summer shade intensifies.
Companion planting is not a substitute for agronomy. Keep companions far enough away that the tomato root zone is not crowded, especially in containers or narrow raised beds. Avoid pairing with aggressive, sprawling crops that trap humidity around the canopy or make harvest difficult. In commercial plantings, the best companion strategy is often functional biodiversity at bed edges and row ends rather than dense intercropping in the production row itself.