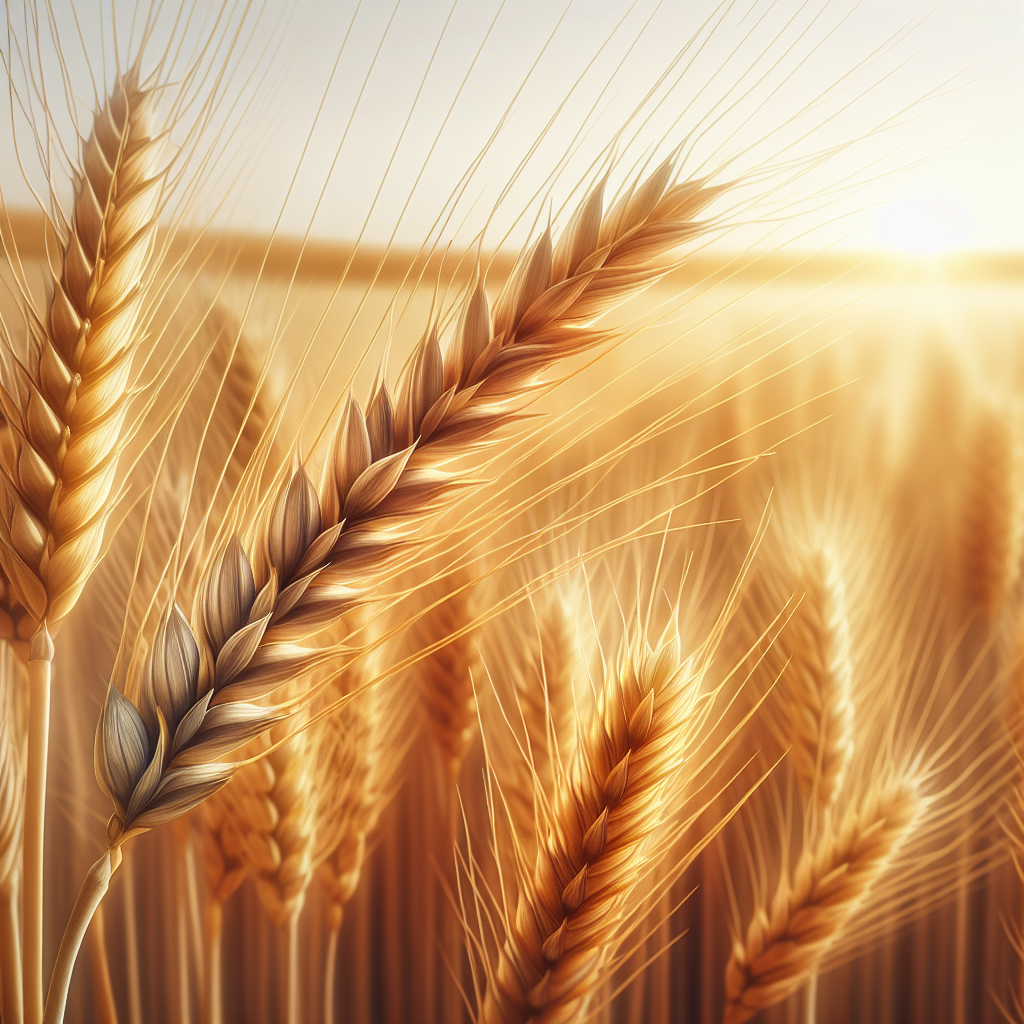
Introduction to Durum Wheat
Durum wheat is the hardest of the cultivated wheats and the classic raw material for semolina, couscous, bulgur, and dry pasta. Unlike many bread wheats, it is prized less for loaf volume and more for kernel vitreousness, bright amber endosperm, high protein concentration, and strong yellow pigment derived from carotenoids. Agronomically, it is typically grown in dryland or limited-irrigation systems where warm, bright conditions during grain fill help produce dense, high-test-weight grain.
Historically, durum emerged from the domestication of tetraploid wheats in the Fertile Crescent and spread across the Mediterranean basin, North Africa, and later the Great Plains and Canadian prairies. Today, major production regions include Italy, Turkey, North Africa, Canada, and the northern United States. If you want broader context on cereal growth habits and classification, see our Wheat guide.
Compared with common bread wheat, durum generally has larger kernels, stronger tolerance of dry finishing conditions, and a market that can be more sensitive to grain color, protein, dockage, and sprouting damage. That means successful production is not only about yield, but about producing clean, sound grain that meets semolina standards.
Botanical Profile of Durum Wheat
Durum wheat belongs to the grass family Poaceae and is a self-pollinated annual cereal. It is a tetraploid wheat with the genomic constitution AABB, which distinguishes it from hexaploid bread wheat. This genetic difference explains many of its end-use traits, especially gluten behavior: durum gluten is strong but less elastic for pan bread, while exceptionally suited to pasta structure.
Key botanical features include upright growth, narrow leaves, solid culms in many cultivars, and a compact to somewhat flattened spike bearing long or short awns depending on the variety. Awned cultivars are especially common because awns contribute to photosynthesis during grain fill and can improve performance under heat and moisture stress.
Growth stages follow the familiar cereal sequence:
- Germination and emergence
- Tillering
- Stem elongation
- Booting
- Heading
- Anthesis (flowering)
- Milk, dough, and physiological maturity
Rooting is fibrous and concentrated in the upper soil profile, though plants can exploit deeper moisture if the soil is well structured and uncompacted. Most productive roots occur in the top 30 to 60 cm, but in favorable deep soils roots may extend beyond 1 meter. This is one reason subsoil compaction sharply reduces resilience under drought.
Important quality traits in durum include:
- Protein content, often targeted above 12.5 to 14% depending on market
- Test weight
- Kernel hardness and vitreousness
- Falling number, especially where pre-harvest sprouting is a risk
- Bright yellow pigment in the endosperm
Common modern cultivars vary by maturity length, disease resistance, straw strength, and adaptation to either dryland or irrigated systems. Producers should choose regionally adapted varieties with resistance to rusts, Fusarium head blight where relevant, and lodging. In low-rainfall areas, earliness and drought escape are often more valuable than maximum vegetative vigor.
Soil, pH, and Climate Requirements for Durum Wheat
Durum performs best in deep, fertile, well-drained loam to clay loam soils with good moisture-holding capacity but no prolonged saturation. It is less forgiving of waterlogging than some other cereals. Fields that pond after rain, remain anaerobic for more than 48 hours, or develop a hardpan within the top 20 to 30 cm often produce uneven stands, reduced tillering, and pale, nitrogen-deficient-looking plants even when fertilizer is present.
Ideal soil pH is about 6.0 to 7.8, with a practical optimum near 6.5 to 7.5. It can tolerate mildly alkaline conditions better than many broadleaf crops, but strongly calcareous soils may induce micronutrient deficiencies, particularly zinc or iron, visible as interveinal chlorosis on younger leaves. Below pH 5.8, root growth may slow and phosphorus availability often becomes less efficient. Liming acidic soils well before planting improves early vigor and nutrient uptake.
For high yields and grain quality, organic matter should ideally exceed 2.5%, though durum is often grown successfully in lower-organic-matter dryland soils if residue is managed carefully. Good soil structure matters as much as fertility. Aggregated soils with stable pores permit infiltration and root exploration, while crusted surfaces can delay emergence and cut stand density.
Climate preference is temperate semi-arid to Mediterranean. Durum especially favors:
- Cool to mild conditions during establishment
- Moderate temperatures during vegetative growth
- Warm, dry, sunny weather during grain filling and maturity
Optimal germination occurs when soil temperatures are roughly 10 to 20°C. Vegetative growth is strongest around 15 to 22°C. Temperatures above 30°C during flowering and early grain fill can reduce kernel set and grain weight, especially if accompanied by moisture stress. Persistent humidity late in the season also raises disease pressure and increases the risk of sprouting and grain staining.
Seasonal water demand usually ranges from about 300 to 500 mm depending on climate, soil depth, variety, and yield target. Critical moisture periods are establishment, tillering, stem elongation, booting, heading, and early grain fill. The crop is moderately drought tolerant, but drought at crown root initiation or flowering can sharply reduce yield. Conversely, excessive irrigation late in grain fill can lower quality, increase lodging, and encourage foliar disease.
For growers trying to improve soil tilth and rotation planning, this article on soil health strategies offers useful background.
Step-by-Step Planting & Propagation
Durum wheat is propagated by seed and should be established using certified, clean seed with strong germination, high thousand-kernel weight, and low seed-borne disease load. Saved seed can work when carefully cleaned and tested, but untreated, low-vigor seed often leads to weak stands and uneven tiller development.
Select the right field
Choose land with excellent drainage, low perennial weed pressure, and a good preceding crop. Best rotations often follow pulse crops such as Chickpeas, Lentils, or Peas, which can reduce disease carryover from cereals and improve nitrogen economy.Prepare the seedbed
Aim for a firm, level, fine-but-not-powdery seedbed. In conservation systems, retain enough residue to protect moisture, but avoid heavy residue mats that interfere with drill placement or cool the soil excessively. Seed-to-soil contact is essential. If you press a boot heel into the surface, it should leave a shallow imprint without sinking deeply into fluff.Test soil fertility
Base fertilizer on a recent soil test. Durum responds strongly to nitrogen, but overapplication early in the season can increase lodging, excessive vegetative growth, and sometimes dilute grain quality if timing is poor. Phosphorus is especially important for rooting and early vigor; zinc may be needed in calcareous soils.Determine planting window
Spring durum is typically sown as early as the soil can be worked in cool temperate regions. In Mediterranean climates, fall or winter sowing may be used where winters are mild. Plant early enough to exploit cool-season moisture but not so early that seed sits in saturated or cold, compacted ground.Set seeding rate
Target a final stand of about 200 to 350 plants per square meter, adjusting upward in dry, crust-prone, late-seeded, or high-residue conditions. This commonly translates to roughly 100 to 180 kg seed per hectare depending on seed size, germination percentage, and expected field survival. Higher rates may be useful where tillering potential is low.Seed at correct depth
Typical depth is 2.5 to 5 cm. In heavier or cooler soils, stay shallower; in dry topsoil, place seed just deep enough to reach uniform moisture. Planting deeper than about 6 cm can delay emergence, reduce coleoptile success, and weaken stands.Apply starter nutrients if needed
Band phosphorus near but not directly with seed if local salt injury risk is high. Small amounts of starter nitrogen may help in low-fertility soils, but avoid seed-row concentrations that reduce germination.Roll or firm if necessary
In loose seedbeds, a light pack after seeding improves contact and uniform emergence.
Emergence should occur within about 7 to 14 days under favorable moisture and temperature. Uneven emergence often points to variable seeding depth, residue interference, crusting, salt injury, or seedling disease.
Care & Maintenance regimes for Durum Wheat
Successful management of durum depends on balancing yield and quality. The crop often looks robust even when hidden constraints are already reducing protein, test weight, or kernel size, so regular field scouting is essential.
Moisture management
Durum should be kept consistently moist, not saturated, during establishment. In the top 10 cm of soil, aim for moisture near field capacity at planting and enough available water to support rapid crown root formation. If you squeeze a soil sample from root depth, it should feel cool and cohesive but not ooze water or smear heavily between fingers.
Signs of underwatering include:
- Delayed emergence
- Blue-green leaf color followed by rolling or tip firing
- Reduced tillering
- Short stems and small heads
- Rapid leaf senescence during grain fill
Signs of overwatering include:
- Persistent pale yellow lower leaves despite adequate fertility
- Soft, lush growth with shallow roots
- Standing water or sour-smelling soil
- Increased lodging and foliar disease
- Root browning from hypoxic conditions
In irrigated systems, the most critical irrigation periods are tillering through booting and heading through early milk stage. Avoid severe stress at flowering. However, reduce or stop irrigation as kernels approach hard dough and the crop nears maturity to preserve grain quality and allow uniform dry-down.
Nitrogen management
Durum usually has a relatively high nitrogen demand, often around 80 to 180 kg N/ha total depending on yield target, residual soil nitrogen, and previous crop. Split applications are often superior to one heavy early dose. A common strategy is modest nitrogen at or before planting, followed by topdressing around tillering to stem elongation. Late nitrogen can lift protein in some systems, but if applied too late without moisture it may not be taken up efficiently.
Visual deficiency symptoms include uniform paling beginning on older leaves, weak tillering, and reduced canopy density. Excess nitrogen shows up as lush dark growth, delayed maturity, softer straw, and higher lodging risk.
Phosphorus, potassium, sulfur, and micronutrients
Phosphorus is critical early; deficiency causes stunting and dull green to purplish plants in cool soils. Potassium is less often limiting in many wheat regions but remains important for water regulation and straw strength. Sulfur can be critical for protein formation; deficiency resembles nitrogen shortage on new growth first. Zinc deficiency causes banded chlorosis and shortened plants, especially on high-pH soils.
Weed management
The first 30 to 45 days are especially important. Early weed competition reduces tillering and can permanently lower yield. Use stale seedbeds, crop rotation, competitive seeding rates, residue retention, and timely cultivation where feasible. The goal is rapid canopy closure without excessive in-crop soil disturbance.
Lodging prevention
Lodging is promoted by high nitrogen, dense stands, strong winds, excess irrigation, and overly fertile soils. Choose strong-strawed varieties, avoid overfertilization, and manage irrigation carefully after heading.
Pests, Diseases & Organic Management
Durum is vulnerable to many of the same pest complexes as other wheats, but grain quality standards make even moderate damage economically serious.
Insect pests
Aphids can transmit Barley yellow dwarf virus and also directly sap plants. Look for colonies on stems and leaf undersides, sticky honeydew, and patchy yellowing. Armyworms and Cutworms may clip seedlings or defoliate leaves. Hessian fly, Wheat stem sawfly, and Cereal leaf beetle are region-specific but potentially severe.
Organic management includes:
- Crop rotation away from continuous cereals
- Adjusted sowing dates where local pest cycles are known
- Encouraging beneficial insects with nearby flowering strips
- Destroying volunteer cereals that act as a green bridge
- Using resistant or tolerant cultivars when available
Diseases
Rusts including Leaf rust, Stem rust, and Stripe rust can reduce photosynthetic area and grain fill quickly. Powdery mildew thrives in dense, humid canopies. Septoria and Tan spot become more common where residue remains from infected cereals. Fusarium head blight is especially serious in humid flowering periods because it lowers yield, quality, and grain safety.
Root and crown diseases such as Common root rot, Take-all, and Rhizoctonia are favored by cereal-heavy rotations, compaction, or moisture stress. Seedling blights cause patchy emergence and weak early growth.
Organic and low-input disease management depends heavily on prevention:
- Rotate out of cereals for at least one season, preferably longer in disease-prone fields
- Use clean seed and resistant cultivars
- Avoid excessive canopy density and unbalanced nitrogen
- Bury or accelerate breakdown of heavily infected residue where soil conservation goals allow
- Improve airflow and reduce late overhead irrigation
- Remove volunteer wheat and grassy weeds
Field symptoms should be distinguished carefully. Rust produces powdery colored pustules, whereas nutrient deficiencies are usually more uniform and lack eruptive lesions. Fusarium head blight often shows bleached spikelets with possible pink or salmon fungal growth under wet conditions.
Birds and rodents may feed on maturing heads or stored grain. Timely harvest, sealed storage, and field sanitation minimize losses.
Harvesting, Curing & Optimal Storage
Durum is harvested when kernels have reached full maturity and grain moisture is generally around 12 to 14% for direct combining, though exact safe levels depend on climate and storage duration. Physiological maturity occurs earlier, when kernels are hard and no longer gain dry matter, but waiting for field dry-down reduces drying costs if weather remains favorable.
Signs of harvest readiness include:
- Stems and heads turning golden to straw colored
- Kernels hard enough that a thumbnail cannot easily dent them deeply
- Heads bending less from green tissue and more from dry straw
- Grain moisture testing in the safe combine range
Do not delay unnecessarily. Rain near maturity can cause weathering, reduced test weight, staining, and pre-harvest sprouting, all of which are especially damaging in durum markets.
Combine settings should be adjusted to minimize cracked kernels and remove chaff effectively. Durum kernels are hard but can still be damaged by overly aggressive threshing. Cylinder speed, concave clearance, fan speed, and sieve settings should be tuned to the variety and moisture level. Harvest a small strip, inspect the sample, and adjust until broken grain and unthreshed heads are minimized.
If grain is harvested above safe storage moisture, dry it promptly with ambient or low-heat air systems. For long-term storage, 12% moisture or lower is safer, especially in warm climates. In bulk bins, monitor temperature and moisture migration. Grain that smells musty, cakes, heats, or shows condensation is at risk of spoilage.
Storage best practices:
- Clean bins thoroughly before filling
- Remove old grain and insect residues
- Seal openings against rodents and birds
- Aerate to keep grain cool and uniform
- Inspect every 2 to 4 weeks initially
High-quality durum should store as bright, sound grain with stable moisture, minimal broken kernels, and no insect activity. Because end-use quality matters so much, segregating lots by protein and test weight can improve marketing value.
Companion Planting for Durum Wheat
In broadacre systems, companion planting for durum is better understood as beneficial rotation and border-planting rather than dense intercropping. The main goals are nitrogen support, pest disruption, pollinator habitat near field edges, and soil structure improvement.
Legumes are the most important companions in rotation. Peas, Lentils, and Chickpeas are especially valuable because they break cereal disease cycles, help balance nitrogen demand, and often leave a cleaner field for the next wheat crop. Their residue also tends to decompose faster than cereal straw, which can improve seedbed conditions.
Flax can also be useful in rotation where disease and herbicide programs align. It is not a nitrogen fixer, but it provides a non-cereal break that can reduce root disease pressure and diversify the production system.
For smaller farms or experimental strip systems, edge plantings of flowering insectary species can support beneficial insects that help suppress Aphids and other soft-bodied pests, though these plants should not compete with the wheat stand or complicate harvest.
Avoid pairing durum closely with other cereals such as barley, oats, or rye in repeated succession if disease carryover is already a concern. The strongest companion strategy is a planned sequence: pulse crop, then durum, then an oilseed or broadleaf break crop, followed by residue and fertility management tailored to rainfall and market goals.