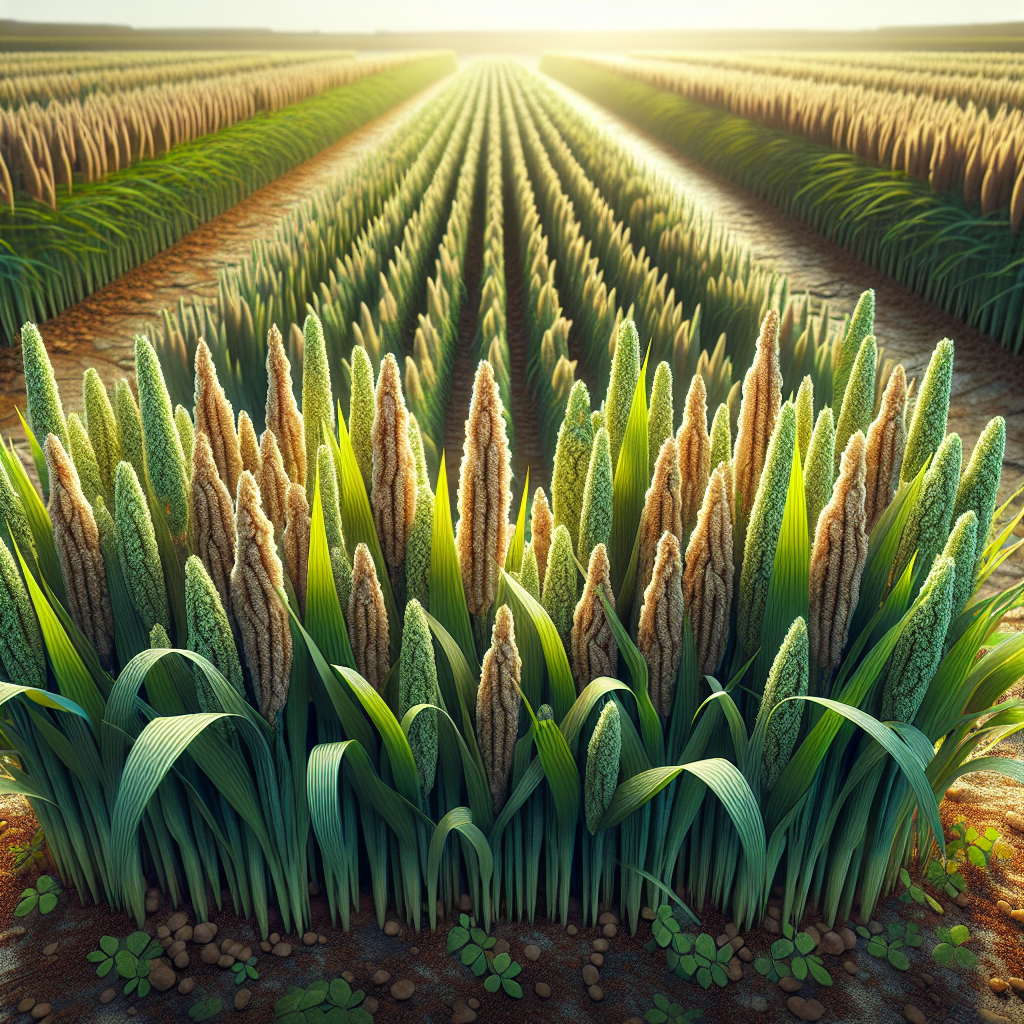
Introduction to Kodo Millet
An ancient cereal of dryland agriculture, this species has long been grown in India as a dependable grain for regions where rainfall is erratic, soils are light, and external inputs are limited. It belongs to a group of small millets often prized for climate resilience, low water demand, and suitability for mixed farming systems. Compared with larger cereals such as Rice, it performs far better under moisture stress and on poorer soils, though it does not tolerate prolonged waterlogging.
Its grain is small, enclosed in a tight husk, and typically used for porridge, flatbreads, fermented foods, and livestock feed. Nutritionally, it is appreciated for dietary fiber, minerals, and relatively slow digestion compared with refined cereals. Historically, farmers have relied on it as a famine-reserve crop because it can survive where more demanding grains fail.
Despite its rugged reputation, profitable cultivation is not simply a matter of scattering seed and waiting for rain. Kodo millet responds strongly to disciplined field preparation, balanced fertility, good drainage, and especially early weed suppression. Many disappointing stands come not from drought but from avoidable establishment problems, shallow nutrient management, or delayed harvest after maturity.
Botanical Profile of Kodo Millet
This is an annual tufted grass in the family Poaceae. Plants usually reach about 60 to 150 cm in height depending on variety, fertility, soil moisture, and plant density. The species develops a fibrous root system that explores upper and mid-soil layers efficiently, giving it good drought avoidance when compared with shallow-rooted cereals. Under compacted conditions, however, rooting depth drops sharply and the crop becomes far less resilient.
Leaves are narrow, linear, and grasslike, often slightly rough to the touch. Tillering varies with spacing and fertility; lower populations encourage more tiller formation, while dense sowing produces fewer but more uniform stems. The inflorescence is typically a panicle made of several racemes bearing small spikelets. Seed is tiny, so seed-soil contact is critical during sowing.
Kodo millet is generally a short- to medium-duration crop, often maturing in about 80 to 140 days depending on cultivar and environment. Traditional landraces tend to be more variable in plant height and maturity but can offer strong adaptation to local stresses. Improved lines may provide more uniform maturity, reduced shattering, and better grain recovery after dehusking.
A notable agronomic nuance is its sensitivity during early growth. Once established, the crop is tough; before canopy closure, it can be outcompeted by weeds very quickly. Another important trait is that the grain remains enclosed in a husk, so post-harvest drying and careful threshing matter more than many beginners expect. In some poorly handled lots, fungal contamination can become a quality issue, especially where mature panicles are exposed to repeated wetting before harvest.
Soil, pH, and Climate Requirements for Kodo Millet
This crop is adapted to light to medium-textured soils, including sandy loams, loams, gravelly uplands, and moderately fertile red soils. It can also produce on poorer land where other cereals fail, but that should not be confused with a preference for neglect. Best yield comes from friable, well-drained soils with moderate organic matter and no hardpan in the top 20 to 30 cm.
The optimum pH range is roughly 5.5 to 7.5. It tolerates mildly acidic soils better than many cereals, but strongly acidic fields below pH 5.2 often show stunted growth, weak tillering, and poor nutrient uptake, especially phosphorus deficiency. In alkaline soils above pH 8.0, micronutrient lockout, particularly zinc and iron, may reduce vigor and grain fill. If soil is acidic, liming before the season can help; if alkaline, focus on organic matter additions and corrected micronutrient programs rather than excessive nitrogen.
Temperature needs are warm. Ideal germination occurs around 25 to 32°C, and active vegetative growth is strongest between 26 and 34°C. It can tolerate hotter daytime temperatures if soil moisture is adequate, but cool soils below about 18°C slow emergence significantly. Frost is highly damaging at any stage.
Rainfall of about 500 to 900 mm across the season is generally sufficient, especially if distributed from sowing through panicle initiation. The crop is drought tolerant once rooted, yet highest yield comes when moisture is available at three critical stages: establishment, tillering, and flowering to grain filling. Long dry spells during flowering can reduce seed set. Conversely, standing water for more than 24 to 48 hours in heavy soils can suffocate roots, yellow leaves, and trigger patchy decline.
Target soil moisture should be interpreted practically. During germination and emergence, the top 3 to 5 cm should remain evenly moist, not sticky or crusted. If you squeeze a handful of soil from that zone and it forms a weak ball that breaks with a light touch, moisture is usually adequate. If it forms a shiny, dense lump or leaves water on the palm, it is too wet. After establishment, allow the top layer to dry slightly between irrigations, but maintain deeper subsoil moisture so roots continue expanding downward.
Kodo millet performs best in full sun. Shading from tree belts, hedgerows, or intercropping with aggressive tall crops can reduce tiller number and panicle development. Wind is usually not a major issue unless excessive nitrogen causes lush, weak stems that lodge late in the season.
For growers working to build resilient dryland fields, principles from soil health strategies are especially useful, because structure, residue cover, and organic matter directly improve this crop's establishment and drought performance.
Step-by-Step Planting & Propagation
Propagation is by seed. Use clean, mature, well-filled seed from a reliable source, ideally from a locally adapted cultivar with known maturity duration. Seed lots should be free from inert matter, weed seeds, and shriveled grain. Because seed is small, low-quality lots lead to uneven stands very quickly.
Select the field carefully. Choose a well-drained upland or gently sloping plot. Avoid depressions where rain accumulates. If the previous crop left severe weed pressure, stale seedbed preparation is recommended.
Prepare a fine, firm seedbed. Plow or loosen soil to about 15 to 20 cm, then harrow until clods are broken. The final surface should be crumbly but not powdery. Over-pulverized soil crusts after rain, which can trap emerging seedlings.
Incorporate basal fertility. Before final harrowing, mix in compost or well-rotted farmyard manure, typically 2 to 5 tons per hectare where available. This improves moisture retention and microbial activity. Basal phosphorus is especially valuable in low-P soils because early root growth determines later drought tolerance.
Treat seed if needed. In organic systems, biocontrol seed treatments based on Trichoderma or similar beneficial organisms can reduce early damping and seed rot. Ash coating is traditional in some areas to improve flow during broadcasting.
Time sowing with dependable moisture. Direct sow at the onset of monsoon or immediately after receiving enough rainfall to wet the root zone. In irrigated dryland systems, pre-irrigate and sow into moist soil. Delayed planting often shortens the grain-filling period and exposes panicles to end-season rains.
Choose sowing method. Line sowing is strongly preferred over broadcasting because it allows hoe weeding and better stand management. Row spacing of 22.5 to 30 cm is common for grain production. Within-row spacing after thinning should be roughly 7 to 10 cm. Broadcasting is possible but usually increases seed rate and weed competition.
Use shallow sowing depth. Place seed only 1 to 2 cm deep. In heavier soils, stay nearer 1 cm; in sandy soils with drying winds, 2 cm is acceptable. Deeper sowing causes weak emergence or complete stand failure.
Adjust seed rate. For line sowing, about 8 to 12 kg seed per hectare is commonly sufficient depending on purity and germination. Broadcasting may require 12 to 15 kg per hectare. Always calibrate to expected field emergence, not laboratory germination alone.
Thin and gap-fill early. Once seedlings reach 2 to 3 true leaves, thin overcrowded patches and fill bare spots if soil moisture allows. Uniform stand density supports synchronized maturity and easier harvest.
Protect the first 30 days. This is the most critical management window. A weak stand at this stage rarely fully recovers, even if later rains improve.
Transplanting is uncommon and usually uneconomical except in small research plots or seed multiplication work. Direct seeding remains the standard commercial approach.
Care & Maintenance regimes for Kodo Millet
Nutrient management should match realistic yield targets. While the crop can survive on residual fertility, it responds to balanced nutrition. A moderate program may include organic manure plus modest nitrogen, phosphorus, and potassium according to soil test. Where no test is available, prioritize phosphorus at planting and split nitrogen into two applications: half at sowing and half around 25 to 35 days after emergence, just before active tillering. Excess nitrogen creates soft growth, delayed maturity, and lodging, especially if late rains occur.
Watch the crop for visual nutrient cues. Nitrogen deficiency appears as pale green older leaves and reduced tillering. Phosphorus deficiency often shows as stunted plants with dark, dull foliage and poor root vigor. Potassium deficiency is less common in many millet soils but can show as marginal scorching and weak drought tolerance.
Water management is simple in concept but precise in practice. Rainfed crops need conservation of every effective rainfall event. Keep the field weed-free and lightly mulched with prior residue between rows if possible. In irrigated settings, apply light irrigation immediately after sowing if the surface dries before emergence. After establishment, irrigate only when approximately 40 to 50% of available moisture has been depleted from the root zone. Practically, this means soil at 10 to 15 cm depth should still feel cool and slightly cohesive, not powder-dry. If leaves roll slightly by midday but recover by evening, stress is mild; if they remain folded into morning, irrigation is overdue.
Critical irrigation stages are:
- establishment if rains fail after sowing,
- active tillering,
- panicle initiation,
- flowering and early grain fill.
Avoid heavy irrigation close to maturity. Wetting late can increase lodging, fungal growth on panicles, and uneven drying.
Overwatering signs include persistent yellowing not explained by nitrogen shortage, slowed growth despite adequate fertility, sour-smelling soil, algae on the surface, and roots that appear brown or poorly branched when examined. Under chronic saturation, plants may show patchy wilting because damaged roots cannot absorb water effectively.
Weed management is the single most important routine task. The crop is a weak competitor early on. Keep the first 20 to 40 days nearly weed-free. One hand weeding or wheel-hoe operation at about 15 to 20 days after emergence, followed by a second at 30 to 35 days, is often decisive. If line-sown, shallow inter-row cultivation also helps conserve moisture by breaking surface crust and capillarity. Do not cultivate deeply, as millet roots near the surface are easily damaged.
Earthing up is useful in lighter soils after the second weeding, especially if plants are becoming tall. This improves anchorage and reduces lodging in windy conditions. In more fertile fields, monitor for excessive vegetative growth and avoid late nitrogen.
Pests, Diseases & Organic Management
Kodo millet is often considered relatively hardy, but it is not pest-proof. Problems vary by region, weather, and field sanitation.
Common insect issues include shoot fly, stem borers, armyworms, grasshoppers, and occasionally earhead-feeding caterpillars or grain-sucking bugs. shoot fly damage appears as deadhearts in young plants, where the central leaf dries and pulls out easily. Early sowing with the first effective rains and uniform emergence reduce vulnerability. Destroy volunteer grasses and crop residues that harbor pests, and encourage natural enemies through border plant diversity.
Stem borer damage may appear as dead central shoots early or whiteheads later. Remove and destroy heavily infested tillers in small plantings. In larger fields, prevention is more practical than cure: timely sowing, balanced nitrogen, and clean field borders matter greatly.
birds can become serious at soft dough stage through full maturity, especially in small isolated plots. Synchronizing planting across a locality reduces concentrated damage. Visual deterrents help only temporarily.
Disease pressure is usually moderate but increases in humid seasons. grain mold, smut-like head infections, leaf blights, rust, and seedling rots may occur. grain mold is especially important where mature panicles are repeatedly wetted by late rains or heavy dew. Good air movement, avoiding excessive nitrogen, and prompt harvest at maturity are the best preventive tools.
Seedling diseases are most common in waterlogged or crusted seedbeds. This is why shallow sowing into a fine but firm seedbed is essential. Organic seed treatments with beneficial fungi or bacterial inoculants can improve establishment.
Integrated organic management should include:
- crop rotation with legumes rather than repeated grass crops,
- removal of grassy weeds that act as alternate hosts,
- solarization or stale seedbed in chronically infested plots,
- compost that is fully decomposed rather than fresh manure,
- border habitat for beneficial insects,
- timely harvest and clean threshing floors.
If panicles show blackened, moldy, or discolored grains, do not mix them into premium food lots. Separate for lower-risk uses only where safe and locally permissible. Good post-harvest hygiene is part of disease management, not just marketing.
Harvesting, Curing & Optimal Storage
Harvest timing strongly influences both yield and food safety. The crop is ready when panicles turn straw to brownish, grains become hard, and most leaves begin drying naturally. Depending on cultivar, this may occur 80 to 140 days after sowing. Do not rely on plant color alone; sample grains from several panicles across the field.
For grain harvest, aim when roughly 80 to 85% of grains on the panicle are physiologically mature and hard. If you bite the grain, it should be firm, not milky. Delayed harvest risks shattering, bird loss, lodging, and weathering. Premature harvest causes shriveled seed and poor storage life.
Cut plants in the morning when there is slight residual humidity if shattering is a concern, then tie into small bundles and stack upright or on clean tarpaulins for field curing. Avoid direct contact with wet soil. Field curing usually takes several days depending on weather. Panicles should then be dried further until grain moisture falls to about 12% or lower for short-term storage, and nearer 10% for long-term storage.
Practical moisture signs matter where meters are unavailable. Properly dried grain should feel hard and crisp, and a bitten grain should crack rather than dent. A shaken handful should sound dry, not dull. Husks and chaff should separate more easily under threshing when cure is adequate.
Thresh carefully by beating, treading, or mechanical threshing calibrated for small grains. Clean grain thoroughly to remove chaff, immature kernels, stones, and weed seeds. Since kodo millet is small seeded, impurities can trap moisture pockets and trigger heating in storage.
Store only fully dried grain in clean, insect-free containers or bins. Use breathable bags in very dry climates; in humid climates, sealed containers are better only if grain is definitely dry. Relative humidity in the store should ideally remain below 65%. Stack bags on pallets, never directly on the floor or against walls. Inspect regularly for condensation, insect activity, or musty odor.
Because the grain is hulled, dehusking is often done closer to consumption or sale depending on local processing systems. Intact, well-dried grain stores longer than poorly dried polished product. If seed is intended for planting next season, keep it from the healthiest, earliest-maturing plants and store it cool, dry, and protected from insects.
Companion Planting for Kodo Millet
In practical field agriculture, companion planting with this crop is less about garden-style pairing and more about beneficial intercropping or border design that supports soil fertility, pest balance, and land-use efficiency. The best companions are usually legumes or beneficial flowering borders that do not overtop the millet during early growth.
Mung Bean is one of the most useful partners in dryland systems. It grows quickly, helps diversify harvest risk, contributes biologically fixed nitrogen to the system, and usually does not compete excessively if row arrangement is planned well. A common strategy is paired rows of millet with alternating legume rows, allowing cultivation access and reducing total weed pressure.
Black Eyed Peas are another excellent companion where heat and intermittent drought are common. Their canopy can help shade soil later in the season, lowering evaporation, while their root system complements rather than exactly duplicates millet rooting patterns. Keep spacing generous enough that the legume does not smother millet seedlings during the first month.
Clover is more useful as a border, off-season cover, or rotation partner than as a dense in-row intercrop in hot dry climates. It contributes organic matter and supports beneficial insects when moisture is sufficient. In semi-arid zones, use it strategically rather than continuously.
Sunflower can function as a border crop that attracts pollinators and beneficial insects, but it should be placed on field edges rather than mixed densely within the stand, since it can shade millet and compete for water if planted too close. Border sunflowers may also divert some bird attention, though they can sometimes attract additional bird pressure if poorly managed.
Avoid aggressive companions that grow taller faster and shade the crop before tillering is complete. Also avoid pairing it with another dense grass cereal in the same row pattern, as this increases competition for nitrogen and intensifies shared pest pressure.
A successful companion system keeps the millet as the structural crop and uses companions to improve ecology, not to crowd the field. In most professional settings, the best results come from simple, repeatable patterns: millet plus one short-duration legume, or millet with beneficial border strips rather than highly complex mixtures.