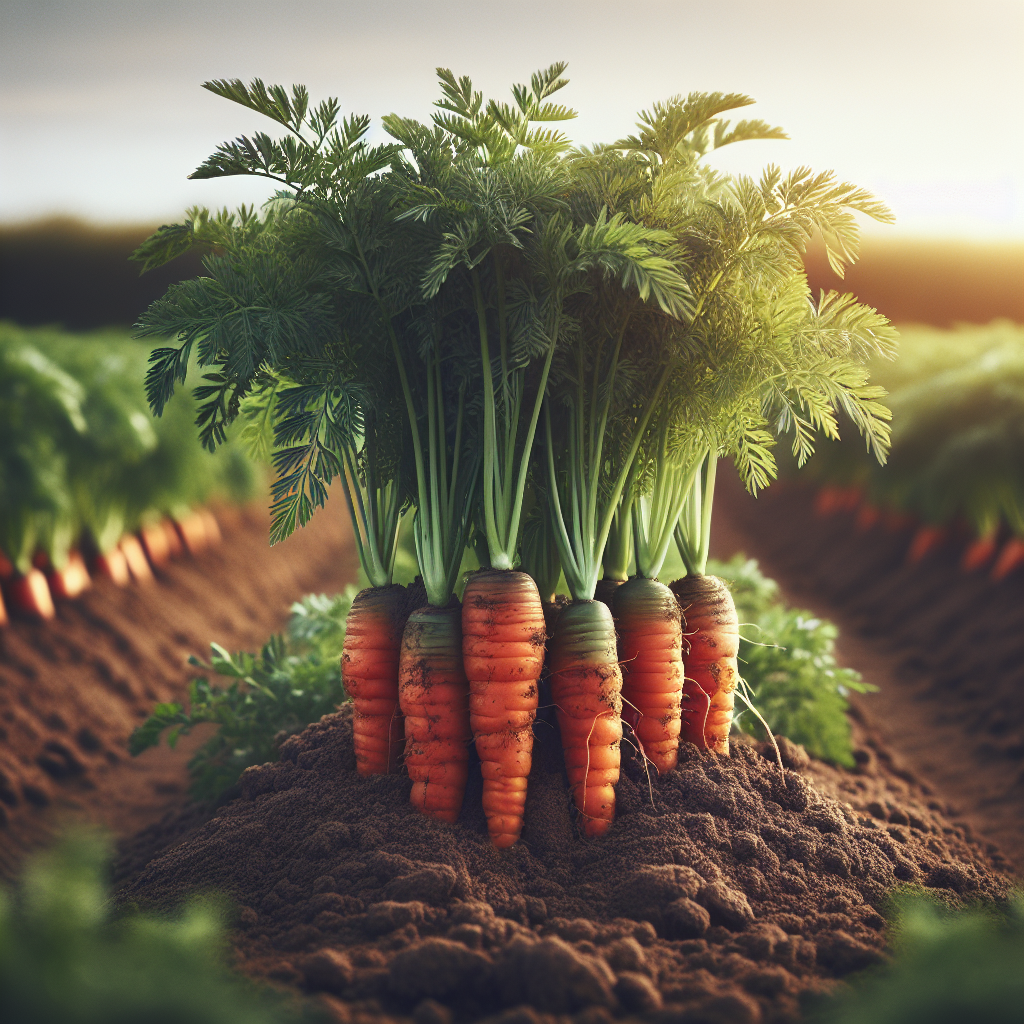
Introduction to Danvers Carrot
Developed in Danvers, Massachusetts in the late 19th century, this heirloom became famous because it solved a very practical problem: producing quality roots in soils that were not perfectly deep, loose, and sandy. Unlike slender, very long carrot types, Danvers forms a medium-length, conical root with a relatively broad crown and a bluntly tapered tip, which allows it to size up well in loam and even somewhat heavier garden soils if drainage is good and stones are removed. That growth habit is the reason the variety remained important long after many newer types appeared.
Danvers is usually grown for fresh eating, bunching, juicing, cooking, and winter storage. Roots are commonly 15-18 cm long, though actual length varies with spacing, fertility, and harvest timing. Flesh is typically deep orange with a rich carotene content, a distinct sweetness that improves in cool weather, and a texture that stays useful in both raw and cooked applications. Compared with more cylindrical market carrots, Danvers often shows better tolerance of imperfect soils, but it still rewards careful bed preparation with straighter, smoother roots.
For growers choosing among carrot classes, Danvers sits in a practical middle ground. It is not as short and round as Chantenay types, and not as long and fine as Imperator selections. If you want a dependable heirloom that offers strong field performance, especially in diversified vegetable systems, it remains one of the most forgiving choices. For a broader overview of carrot production fundamentals, see our Carrot guide.
Botanical Profile of Danvers Carrot
This crop belongs to the Apiaceae family, the same botanical group that includes parsley, fennel, celery, dill, and parsnip. Like all cultivated carrots, it is a domesticated root form of Daucus carota, originally derived from wild carrot. The edible structure is primarily an enlarged taproot that stores carbohydrates produced by the feathery leaf canopy during vegetative growth.
Danvers is normally cultivated as a biennial grown as an annual. In the first season it produces a rosette of dissected leaves and the storage root. If exposed to sufficient vernalization, usually by prolonged cool temperatures after reaching a juvenile threshold, plants may bolt in the second stage of development and send up a flowering stalk. Once bolting begins, root quality declines rapidly: texture becomes woody, sugar balance changes, and the root often turns fibrous and less marketable.
The root consists of an outer cortex and inner core. In high-quality carrots, the core is relatively small and similar in color to the outer flesh. Danvers usually develops good internal color, though this can vary by seed strain. Excessive heat, uneven moisture, and overmaturity can enlarge the core and reduce tenderness. Tops are medium to strong, an asset for hand harvest and bunching.
Germination is epigeal only in the sense that the seedling emerges above the soil line, but the seed itself is small, irregular, and slow to establish. Carrot seeds are actually dry schizocarps often sold as "seed" in ordinary practice. They need continuous surface moisture for successful emergence because they are sown shallowly and have limited stored energy. This early stage is where most carrot failures occur.
Soil, pH, and Climate Requirements for Danvers Carrot
This variety performs best in deep, friable, stone-free soil with excellent drainage and moderate fertility. Danvers tolerates somewhat heavier ground better than many long-rooted carrots, but that should not be interpreted as liking compacted clay. The ideal soil is a sandy loam or fine-textured loam with enough structure to retain moisture but enough porosity to allow the taproot to elongate evenly. If a squeezed handful of moist soil forms a weak ball that crumbles with light pressure, you are near a suitable texture. If it forms a hard ribbon or sticky mass, tillage and organic matter management need attention before sowing.
Target a soil pH of 6.0-6.8, with 6.3-6.6 often ideal. Below pH 5.8, nutrient availability and microbial balance become less favorable, while very high pH can contribute to micronutrient issues. Carrots are especially sensitive to fresh manure, overly rich nitrogen conditions, and undecomposed organic matter in the root zone. Those conditions encourage forking, hairy roots, and inconsistent shape. If compost is needed, use only fully finished compost incorporated well ahead of planting, preferably in the previous crop cycle or several weeks before sowing.
Loose soil to at least 20-25 cm depth is ideal, even though Danvers does not require the extreme depth demanded by longer types. Remove stones, clods, and woody debris. Hardpan layers or shallow compaction cause stubbing, splitting, and misshapen shoulders. Raised beds are highly effective where rainfall is frequent or soil drains slowly.
Cool weather is best for premium root quality. Optimal germination occurs around 10-24°C, though emergence is fastest near 18-22°C if moisture is constant. Vegetative growth and root bulking are strongest in 15-21°C conditions. When temperatures stay above 27°C, roots often become stronger flavored, paler, or coarser, and germination can be erratic. Light frosts generally improve sweetness by promoting sugar accumulation, but severe freezing in unprotected soil can damage roots.
Consistent moisture is critical. Aim for soil that remains evenly moist in the top 2.5-5 cm during germination, then uniformly moist through the main rooting zone afterward. As a practical benchmark, soil at 5-10 cm depth should feel cool and slightly damp, never dusty and never waterlogged. Overwatering causes oxygen stress, slows root respiration, and may lead to yellowing foliage, algal crusting on the soil surface, and increased risk of Cavity spot or root rots. Underwatering leads to slow growth, bitterness, cracking after re-irrigation, and woody texture.
Step-by-Step Planting & Propagation
Propagation is by seed only. Carrots do not transplant well for root production because disturbance of the taproot causes branching and malformed roots.
Prepare the bed thoroughly. Create a fine, level seedbed with soil particles small enough to ensure close seed-to-soil contact. Broadforking or deep loosening before final raking is valuable in denser soils. Avoid leaving a fluffy lower layer beneath a crust-prone surface; settle the bed lightly before sowing.
Time sowing to cool-season conditions. In temperate climates, direct sow 2-4 weeks before the last spring frost for an early crop, then make succession sowings every 2-3 weeks until warm weather becomes intense. For autumn production, sow 10-12 weeks before the expected first hard freeze. Fall-grown Danvers often produces the sweetest roots.
Sow shallowly. Plant seed 0.5-1 cm deep. Deeper sowing delays or reduces emergence, especially in heavier soils. Rows can be spaced 25-45 cm apart depending on whether cultivation is by hand or tool. In intensive beds, multiple close rows per bed work well if thinning is managed promptly.
Seed generously, then thin. Carrot seed is small and uneven in emergence, so slight overseeding is common. After emergence, thin seedlings to 2.5-5 cm apart for fresh market roots. Use the tighter spacing for slender bunching roots and the wider spacing for larger storage roots. Delayed thinning causes crowding, poor diameter development, and increased humidity within the canopy.
Maintain surface moisture until emergence. Depending on temperature, Danvers may take 7-21 days to emerge. During this period, the top layer must not dry out. Light irrigation once or twice daily may be needed in warm, breezy weather. Floating row cover or burlap laid loosely over the bed until emergence can reduce evaporation; remove coverings promptly once seedlings appear.
Mark rows with a quick crop if desired. Some growers mix a few Radish seeds into the row because radishes emerge quickly and help mark the line for weeding before carrots are visible. Harvest the radishes early so they do not compete with the carrot stand.
Keep the crown covered. As roots enlarge, shoulders may push above the soil surface. Hill lightly or brush loose soil around exposed crowns to prevent greening and bitterness.
For additional soil preparation ideas and long-term bed improvement, the principles in soil health strategies are especially relevant to root crops.
Care & Maintenance regimes for Danvers Carrot
Once seedlings are established, management should focus on four factors: moisture consistency, weed control, balanced fertility, and prevention of physical root defects.
Irrigation should transition from frequent light watering during germination to deeper, less frequent watering once roots are anchoring well. A useful target is roughly 2.5 cm of water per week from rain or irrigation in mild weather, increasing in sandy soils or during drying winds. However, fixed schedules are less reliable than monitoring the root zone. The soil 7-15 cm deep should remain evenly moist. If it turns powdery, growth will stall. If it stays saturated long enough to smell sour or leave your fingers slick with mud, aeration is inadequate.
Signs of moisture stress in Danvers include dull bluish foliage, slow top growth, root cracking after sudden rewatering, and stronger terpene flavors. Signs of excess water include pale leaves, stunted roots despite lush tops, and increased disease pressure. Drip irrigation or fine overhead watering during establishment is generally superior to irregular soaking.
Weed competition is one of the biggest threats to yield because carrots emerge slowly and have limited early canopy. Keep beds weed-free for at least the first 6-8 weeks. Use stale seedbed techniques where possible: prepare the bed, irrigate to germinate weed seeds, then flame or lightly disturb the surface just before carrot sowing. After emergence, weed shallowly to avoid damaging roots. Mulch is less common in direct-seeded carrots but can help after establishment if applied lightly and evenly.
Fertility should be moderate, not aggressive. Carrots do not need heavy nitrogen. Excess nitrogen, especially in nitrate-heavy forms, promotes excessive foliage and poor root quality. As a general field guideline, soils with moderate fertility may need only modest preplant nutrition, emphasizing phosphorus and potassium if soil tests indicate deficiency. Boron deficiency can contribute to cracked or corky roots in some soils, but boron should only be applied based on soil or tissue testing because overapplication is toxic.
Avoid side-dressing with fresh manure or high-nitrogen fertilizers during midseason. If growth is clearly weak and leaves are pale green in a low-fertility soil, a very light side-dress with a balanced organic fertilizer may help, but keep it modest and water it in well.
Thinning is part of maintenance, not just planting. Make the first thinning when seedlings are a few centimeters tall, then a second thinning if needed when roots begin sizing. Disturb neighboring seedlings as little as possible. Thinnings can release carrot scent, which may attract pests, so thin in the evening and water afterward to settle soil and reduce odor spread.
Pests, Diseases & Organic Management
The principal insect pest is Carrot rust fly in regions where it is established. Adult flies lay eggs near the crown, and larvae tunnel into roots, causing rusty channels and secondary decay. Damage is often worst in plantings thinned carelessly or where carrot-family crops are grown repeatedly in the same area. Floating row covers installed immediately after sowing or right after weeding are among the most effective organic tools, provided edges are well sealed. Crop rotation away from Apiaceae for at least 2-3 years reduces pest carryover.
Aphids may colonize foliage and vector some diseases, though they are usually secondary pests. Strong water sprays, habitat for beneficial insects, and avoidance of excess nitrogen help suppress outbreaks.
Wireworms and Root-knot nematodes can also damage roots, especially in fields converted from sod or with long histories of susceptible crops. Bait trapping, rotation, and biofumigant cover crops can help manage these problems. Forked and scarred roots are often blamed on pests when the real cause is compaction or undecomposed organic matter, so diagnosis matters.
Foliar diseases include Alternaria leaf blight and Cercospora leaf blight. These reduce canopy health, which directly lowers root sizing because the root depends on active photosynthesis. Symptoms usually begin as dark or tan lesions on older foliage, progressing to blighting and collapse in humid conditions. Good spacing, crop rotation, drip irrigation where feasible, and prompt residue management are important. Avoid working in wet foliage to limit spread.
Soilborne issues include Cavity spot, Pythium-related root problems, and Bacterial soft rot in storage. These are favored by poor drainage, compacted soils, and rough handling. Organic management begins before planting: well-drained beds, stable moisture, balanced calcium availability, and long rotations are more effective than reactive treatments.
Integrated organic practice for Danvers should include: rotating out of carrot-family crops, using clean seed, encouraging fast emergence, controlling weeds early, avoiding overfertilization, installing row covers where rust fly pressure exists, and harvesting at proper maturity. In diversified systems, nearby plantings of Onion are traditionally used as companions because their scent may help confuse some pests, though this effect should complement rather than replace physical exclusion and rotation.
Harvesting, Curing & Optimal Storage
Danvers is typically ready in about 65-80 days, depending on strain, season, and spacing. Baby roots can be pulled earlier, but full flavor and storage quality develop when the shoulders color fully and roots approach their mature diameter. Check a few sample roots before harvesting the whole bed. Uniform orange color, good shoulder fill, and a crisp snap indicate readiness.
Harvest in cool conditions whenever possible. Moist but not wet soil makes lifting easier and reduces breakage. In lighter soils, roots can be pulled by hand using the tops; in heavier ground, undercut first with a digging fork or harvest knife to avoid tearing tops and snapping roots. Handle gently. Abrasions and broken tips shorten storage life dramatically.
Trim tops soon after harvest, leaving about 0.5-1 cm of petiole. Do not leave leafy tops attached for long, as they continue to transpire and draw moisture from the root. Wash only if necessary for immediate sale or use. For storage, dry brushing is often better if roots are otherwise clean and sound.
Carrots do not require curing in the same way onions or winter squash do, but they do benefit from prompt cooling after harvest. Ideal storage is 0-1°C with 95-100% relative humidity. Under those conditions, Danvers can store for several months. The goal is very cold, very humid air without freezing. In lower humidity, roots wilt and become rubbery; in warmer storage, sugars are consumed faster and rot risk increases.
Pack roots in perforated bags, bins with damp sand, or high-humidity crates. Remove damaged, cracked, forked, or diseased roots before storage because one decaying carrot can spread problems in confined conditions. Check stored roots regularly and cull any that soften or smell sour.
If roots were exposed to repeated drought followed by heavy irrigation, expect more splitting in storage. If harvested overmature in hot weather, expect coarser texture and shorter holding ability. Fall-grown Danvers harvested after light frosts generally stores best and tastes sweetest.
Companion Planting for Danvers Carrot
The best companion choices are those that either help reduce pest pressure, improve spatial efficiency, or complement carrot growth habits without overcompeting below ground. Onion is one of the most practical partners because it occupies a different root zone pattern and is traditionally used to help confuse carrot pests through its strong scent. Lettuce is another excellent match: it grows quickly, shades the soil lightly, and is harvested before carrot roots need full room. Peas can also fit into cool-season rotations, especially when sown nearby rather than densely interplanted, because they help use vertical space and contribute to diversified spring production.
Radish is often used as a nurse or marker crop in carrot rows. Because radishes germinate quickly, they signal the row location so early weeding can happen before carrot seedlings are obvious. The key is to harvest radishes promptly; if left too long, they compete for water and distort spacing.
Avoid pairing Danvers too closely with aggressive, sprawling, or deeply rooting crops that shade the bed heavily or require frequent deep cultivation. Fennel should be kept separate because it is widely regarded as a poor neighbor for many vegetables. Large brassicas can also crowd carrots if spacing is not generous.
In practical market-garden layouts, one of the best systems is alternating short bed sections or adjacent rows of carrots with onions and lettuces, then following with a summer crop once the cool-season block clears. Companion planting works best when it is treated as one part of a larger management system that also includes rotation, irrigation discipline, and pest exclusion.