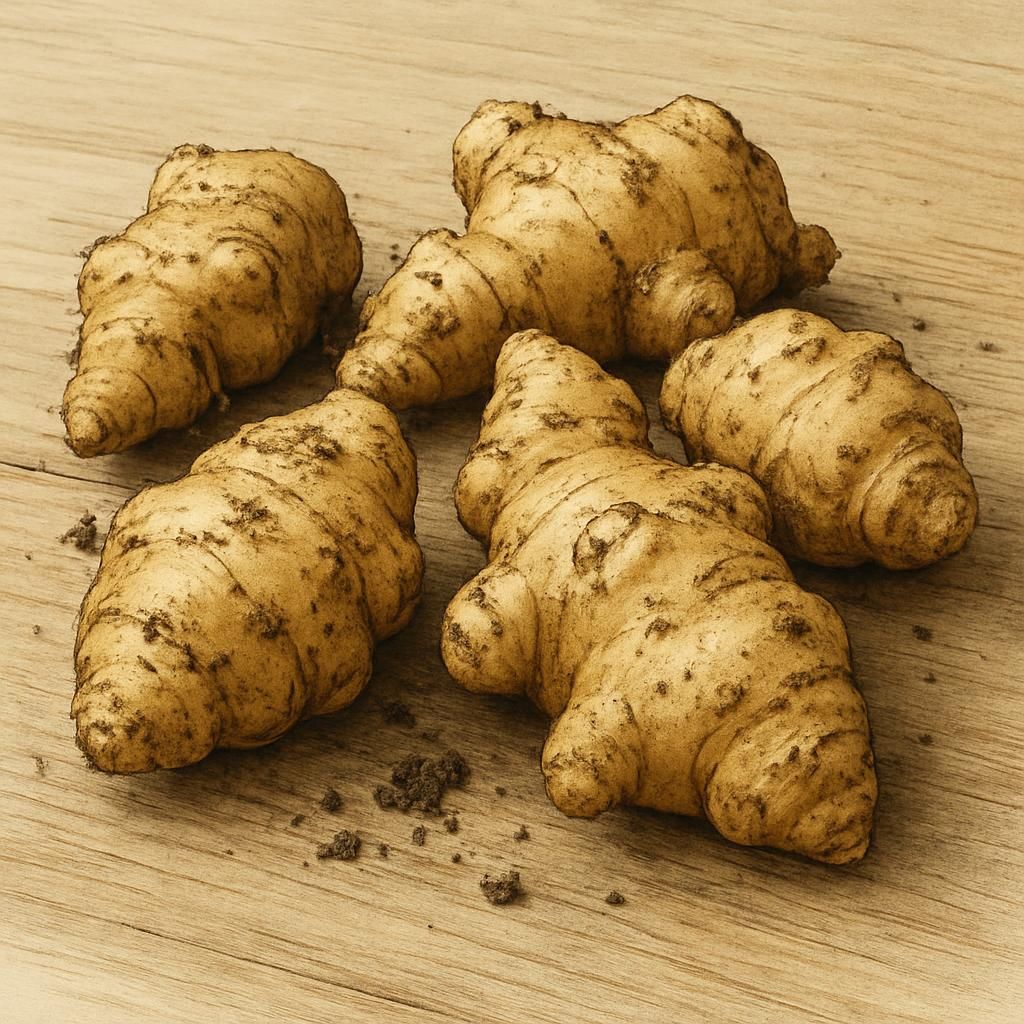
Introduction to Jerusalem artichoke
Jerusalem artichoke (Helianthus tuberosus) is a vigorous, sunflower-relative grown primarily for its edible underground tubers. Native to North America, the plant produces tall stalks topped with bright yellow flowers and stores carbohydrates as inulin rather than starch, making the tubers a favored low-glycemic food. Commercial and home growers value its resilience, rapid spread, and ability to produce 5–10 kg of tubers per square meter under good management.
Because the crop overwinters as tubers, it offers an early-spring harvest window and can be left in the ground until needed, reducing storage losses. Its deep root system improves soil structure and sequesters carbon, while the abundant biomass supplies high-quality mulch or compost feedstock. With proper containment, Jerusalem artichoke becomes a low-maintenance perennial staple that returns year after year.
Botanical Profile of Jerusalem artichoke
Helianthus tuberosus belongs to the Asteraceae family and is closely related to the common sunflower. Plants reach 1.5–3 m in height with opposite, ovate-lanceolate leaves 10–25 cm long. Stems are sturdy, often reddish, and support terminal inflorescences of 5–10 cm yellow ray flowers that bloom from late summer into autumn. The edible portion consists of irregular, knobby tubers formed at the ends of stolons; skin color ranges from pale tan to reddish-purple depending on cultivar.
Tubers contain 15–20 % inulin, a prebiotic fructan that supports gut health. Unlike potatoes, they store poorly once lifted because the thin skin desiccates quickly; leaving them in situ until use is often preferable. The plant is photoperiod-sensitive and flowers best under short-day conditions, although flowering is not required for tuber formation.
Soil, pH, and Climate Requirements for Jerusalem artichoke
| Parameter | Ideal Range | Notes |
|---|---|---|
| Soil texture | Sandy loam to loam | Good drainage prevents rot; avoid heavy clays without amendment |
| Soil pH | 6.0–7.5 | Tolerates 5.5–8.0 but best flavor at neutral pH |
| Organic matter | 3–6 % | Incorporate compost or aged manure |
| Minimum soil temp | 7 °C | Tubers sprout reliably above this threshold |
| Growing season temp | 15–25 °C daytime | Heat above 30 °C slows tuber bulking |
| Frost tolerance | Tubers survive –15 °C | Foliage killed by first hard frost |
| Annual rainfall | 500–1200 mm | Supplemental irrigation in dry spells |
Step-by-Step Planting & Propagation
- Site selection: Choose a sunny, open area with at least six hours of direct light. Because Jerusalem artichoke spreads aggressively, dedicate a permanent bed or install root barriers 60 cm deep.
- Soil preparation: In autumn or early spring, loosen soil to 30 cm and incorporate 5–7 cm of well-rotted manure or compost. Remove perennial weeds.
- Tuber selection: Use certified disease-free seed tubers 30–50 g each with at least two buds. Avoid grocery-store tubers treated with sprout inhibitors.
- Planting window: Plant 4–6 weeks before last spring frost when soil reaches 7 °C. In mild climates, autumn planting (October–November) is possible.
- Spacing: Rows 75–90 cm apart; set tubers 10–15 cm deep and 30–40 cm within the row. For higher density, use a 40 × 40 cm grid.
- Orientation: Place tubers horizontally with buds facing upward; cover and firm soil gently.
- Watering-in: Provide 10–15 mm of water immediately after planting to settle soil around tubers.
Care & Maintenance regimes for Jerusalem artichoke
| Growth Stage | Water Schedule | Fertilizer Schedule | Pruning / Other Tasks |
|---|---|---|---|
| Establishment (0–4 wks) | 25 mm/week; keep top 10 cm moist | None at planting; side-dress 5-5-5 at 3 weeks | Weed weekly; mulch 5 cm after emergence |
| Vegetative (4–10 wks) | 15–20 mm/week if rainfall <15 mm | Optional: 2 kg/100 m² potassium-rich fertilizer at 6 weeks | Remove lower leaves to improve airflow |
| Flowering (10–14 wks) | Reduce to 10 mm/week | No additional nitrogen after flowering begins | Cut back flower heads if seed not desired |
| Post-harvest / Dormancy | None required; natural rainfall sufficient | Top-dress 3 cm compost each autumn | Cut stalks to 15 cm after frost; leave tubers in ground |
Pests, Diseases & Organic Management
Jerusalem artichoke is relatively pest-resistant, yet several organisms can reduce yields. Aphids occasionally colonize tender shoots; a strong water spray or insecticidal soap provides control. Slugs feed on emerging shoots in wet springs—use beer traps or iron-phosphate baits. Wireworms may damage tubers in fields previously in grass; rotate away from sod.
Fungal issues are rare but include Sclerotinia stem rot and Rhizoctonia when soils remain waterlogged. Improve drainage and avoid overhead irrigation. Crop rotation with non-hosts such as corn or small grains breaks disease cycles. In severe cases, solarize soil for six weeks during summer.
Harvesting, Curing & Optimal Storage
Tubers reach full size after the first hard frost kills foliage, typically 110–140 days after planting. Use a digging fork inserted 20 cm from the plant to loosen soil, then lift clumps by hand. Because skins are thin, handle gently to avoid bruising.
Do not wash tubers; brush off loose soil and allow surface moisture to evaporate for 1–2 hours. For short-term storage (2–3 weeks), keep in perforated plastic bags at 2–4 °C and 90–95 % relative humidity. For longer storage, leave tubers in the ground under 15 cm of mulch; harvest as needed until soil freezes solid. Once lifted, inulin converts to fructose within days, so process or consume promptly.
Companion Planting for Jerusalem artichoke
Jerusalem artichoke pairs well with tall, nitrogen-fixing species that do not compete for light. Corn and sunflower provide vertical structure while the tubers improve soil for the following season. Low-growing lettuce or radish can be sown between rows early in the season before canopy closure.
Avoid planting near potato because shared pests and diseases can build up. Deep-rooted asparagus also competes for space; keep at least 1 m separation. A living mulch of clover between rows suppresses weeds and adds nitrogen without shading the crop.
For more on designing resilient polycultures, see Summer Companion Planting: 10 Organic Pairings to Boost Small Farm Resilience.