Introduction to Clematis
Clematis is a genus of approximately 300 species of woody or herbaceous perennial vines belonging to the buttercup family, Ranunculaceae. These vigorous climbers are renowned for producing an abundance of large, showy flowers in nearly every color of the rainbow, making them favorites among gardeners and landscape designers worldwide. With proper selection of cultivars and adherence to specific cultural requirements, clematis can provide vertical interest, screen unsightly structures, and serve as focal points in mixed borders or container displays.
Successful clematis cultivation hinges on understanding the plant’s unique needs for cool roots, well-drained yet consistently moist soil, and appropriate pruning regimes based on flowering habit. Many species and hybrids are hardy in USDA zones 4–9, though some require winter protection or specific microclimates. This guide delivers professional-grade, practical advice to help both commercial growers and home gardeners achieve reliable, long-term success with clematis.
Botanical Profile of Clematis
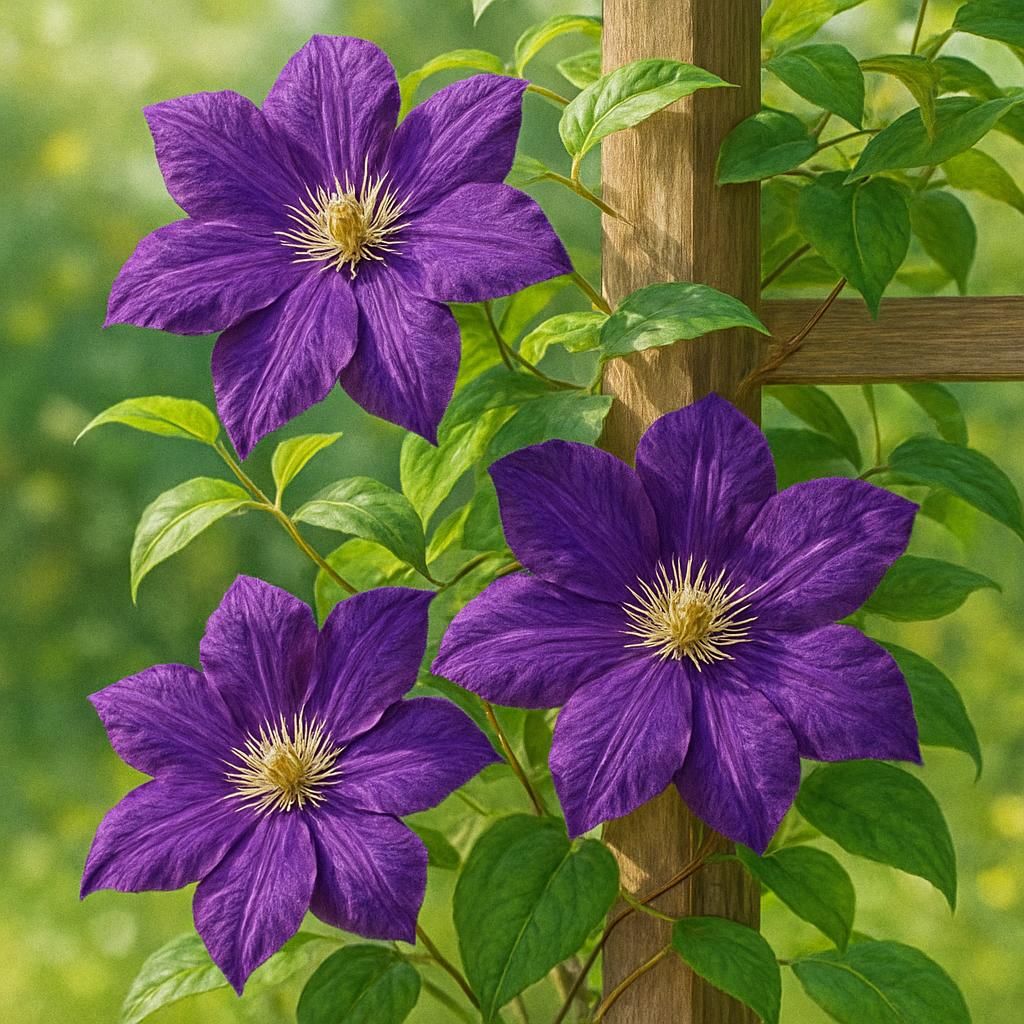
Clematis species range from deciduous woody climbers reaching 10–30 feet to herbaceous perennials that die back to the ground each winter. Stems are typically slender, twining clockwise around supports via modified leaf petioles. Leaves are opposite, usually compound with three to five leaflets, and vary from simple ovate to deeply lobed or pinnate forms. Flowers may be solitary or borne in panicles or cymes; they lack true petals and instead feature four to eight showy, petal-like sepals. Many cultivars produce fluffy, feathery seed heads that persist into winter, adding seasonal interest.
Flowering times span from early spring through late autumn depending on species and pruning group. Early-flowering types bloom on previous season’s wood, while late-flowering varieties produce blooms on new growth. Understanding these botanical distinctions is essential for proper pruning and maximizing floral display.
Soil, pH, and Climate Requirements for Clematis
Clematis thrives in fertile, well-drained soils with consistent moisture. The root zone must remain cool while the upper growth receives ample sunlight. Heavy clay or waterlogged conditions quickly lead to root rot, while excessively sandy soils dry out too rapidly. Amending planting sites with generous quantities of organic matter improves both drainage and moisture retention.
| Parameter | Ideal Range/Value | Notes |
|---|---|---|
| Soil Type | Loamy, well-drained | Incorporate compost or aged manure |
| Soil pH | 6.0 – 7.5 | Slightly acidic to neutral |
| Temperature Range | 50–75 °F (10–24 °C) daytime | Protect from extreme heat and frost |
| USDA Hardiness Zones | 4–9 | Mulch heavily in zones 4–5 |
| Sun Exposure | Full sun to partial shade | Shade roots, sun for blooms |
| Spacing | 24–36 inches between plants | Allow air circulation to reduce disease |
Step-by-Step Planting & Propagation
Begin by selecting a site that provides at least six hours of sunlight on upper foliage while keeping roots shaded by low-growing companions or mulch. Dig a planting hole twice as wide and as deep as the root ball. Amend excavated soil with compost and a handful of bone meal. Position the crown 2–3 inches below soil level to encourage basal shoots and protect against wilt. Backfill, firm gently, and water thoroughly. Install a sturdy trellis or obelisk at planting time to avoid root disturbance later.
Propagation is most successful via softwood cuttings taken in late spring or early summer. Select healthy, non-flowering shoots, cut 4–6 inch sections below a node, remove lower leaves, and dip in rooting hormone. Place in a well-draining propagation mix under high humidity until roots form in 4–6 weeks. Layering established stems or dividing herbaceous species in early spring also yields reliable results.
Care & Maintenance regimes for Clematis
Consistent moisture is critical, especially during the first two growing seasons. Apply 1–1.5 inches of water weekly, adjusting for rainfall and soil type. Mulch with 2–3 inches of organic material to moderate soil temperature and suppress weeds. Fertilize in early spring with a balanced, slow-release formula low in nitrogen to promote flowering rather than excessive foliage. A second light feeding after the first flush of blooms supports reblooming cultivars.
| Task | Schedule | Details |
|---|---|---|
| Watering | Weekly (1–1.5 in) | Deep soak; avoid overhead watering |
| Fertilizer | Early spring & post-bloom | Low-nitrogen, balanced NPK |
| Pruning Group 1 | After spring bloom | Remove dead wood only |
| Pruning Group 2 | Late winter & after first flush | Cut back ⅓ of stems; deadhead |
| Pruning Group 3 | Late winter/early spring | Cut all stems to 6–12 inches |
Pests, Diseases & Organic Management
Common pests include aphids, spider mites, and slugs and snails. Monitor new growth weekly and blast aphids with water or apply insecticidal soap. Encourage beneficial insects such as lady beetles and lacewings. For slugs, use iron-phosphate baits or beer traps placed away from stems.
Diseases such as clematis wilt (caused by Ascochyta clematidina), powdery mildew, and root rot are most problematic in poorly drained or overcrowded plantings. Improve air circulation, avoid overhead irrigation, and remove infected foliage promptly. Soil solarization and raised beds help prevent root diseases. Organic fungicides containing neem oil or potassium bicarbonate provide additional protection when applied preventively.
Harvesting, Curing & Optimal Storage
Although clematis is primarily grown as an ornamental, seed heads of certain species can be harvested for dried arrangements. Collect mature, fluffy seed heads on a dry day after dew has evaporated. Hang upside down in a well-ventilated, dark location for 2–3 weeks until fully dry. Store in airtight containers away from light to preserve color and structure for up to one year.
Cut flowers for fresh arrangements should be harvested when buds are half-open. Place stems immediately in cool water and condition in a refrigerator for several hours before arranging. Vase life typically ranges from 5–10 days depending on cultivar and environmental conditions.
Companion Planting for Clematis
Pair clematis with shallow-rooted companions that provide root shade without competing for nutrients. Low-growing perennials such as thyme, yarrow, and nasturtium create living mulch while adding visual contrast. Roses make classic partners; the clematis can climb through the rose canopy, extending the bloom season. Avoid planting near aggressive ground covers or trees with dense surface roots.
For vegetable gardens, clematis can be trained on obelisks within tomato or cucumber beds, providing vertical interest and attracting pollinators. Ensure companions do not require heavy nitrogen fertilization that would promote lush clematis foliage at the expense of flowers.