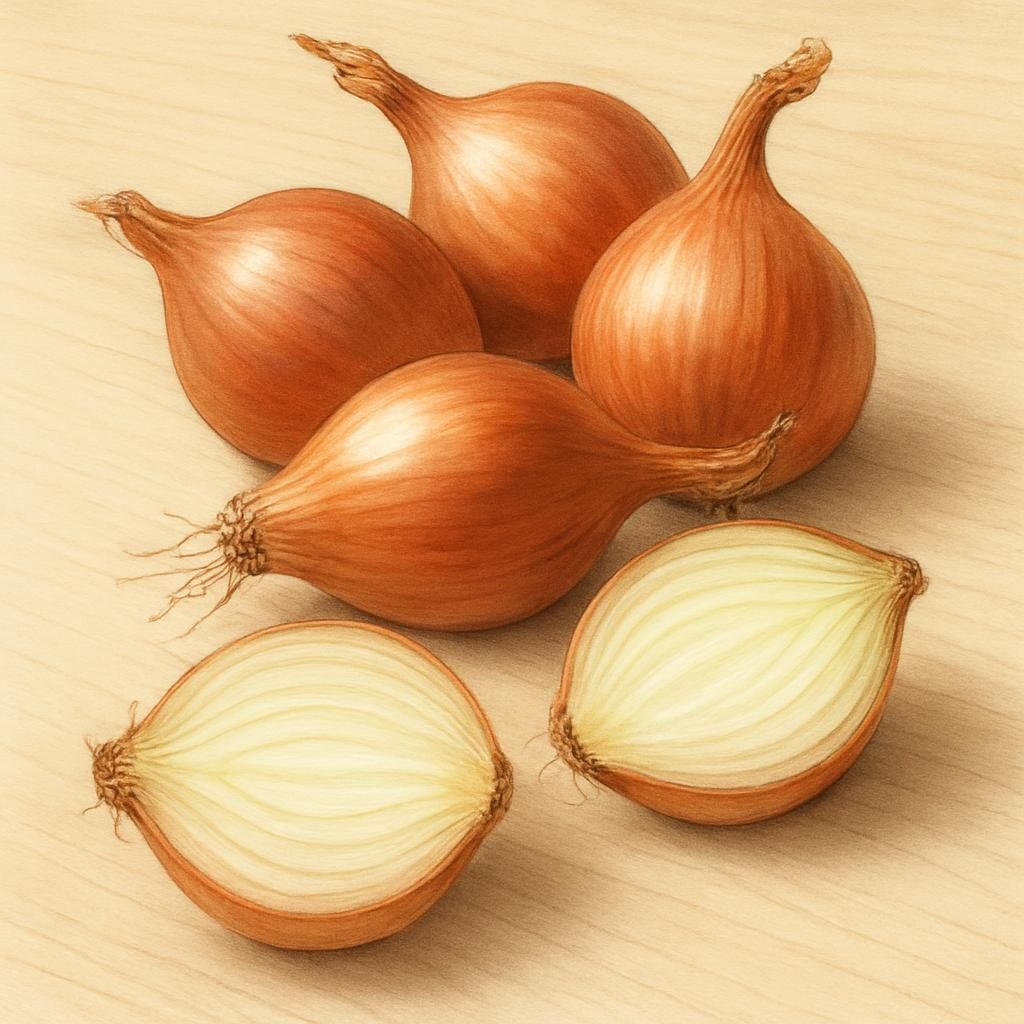
Introduction to Shallot (Dutch Yellow)
Dutch Yellow shallots (Allium cepa Aggregatum Group) are a gourmet allium that combines the sweetness of Onion with a delicate garlic-like finish. Their elongated bulbs store exceptionally well and are favored by professional kitchens for sauces, vinaigrettes, and roasting. This guide delivers comprehensive, actionable advice for commercial and serious home growers seeking consistent, high-quality yields.
Botanical Profile of Shallot (Dutch Yellow)
Shallots form clusters of 3–8 bulbs from a single planted clove. Each bulb is covered by a thin, copper-brown skin and features concentric layers of pale-yellow flesh. The plant produces hollow, bluish-green leaves and reaches 30–45 cm in height. Unlike single-bulb onions, the Dutch Yellow variety multiplies vegetatively, making it both a crop and a seed stock.
Soil, pH, and Climate Requirements for Shallot (Dutch Yellow)
Shallots demand loose, fertile, well-drained soil. Heavy clays cause misshapen bulbs and increase disease pressure.
| Parameter | Ideal Range | Notes |
|---|---|---|
| Soil Type | Sandy loam to loam | High organic matter improves structure |
| pH | 6.0–6.8 | Below 5.8 increases risk of clubroot |
| Temperature | 13–24 °C daytime | Cool nights enhance sweetness |
| Frost Tolerance | Hardy to –7 °C | Plant 4–6 weeks before last frost |
| Sunlight | Full sun (≥8 hours) | Essential for bulb development |
| Spacing | 10–15 cm between plants | 30–45 cm between rows |
Step-by-Step Planting & Propagation
- Select certified disease-free Dutch Yellow sets or cloves 1.5–2 cm in diameter.
- Prepare beds by incorporating 5–7 cm of well-rotted compost and a balanced organic fertilizer (5-5-5).
- Plant cloves pointed end up, 2–3 cm deep, 10–15 cm apart in rows 30–45 cm wide.
- Firm soil gently and water thoroughly to settle.
- Mulch with 5 cm of straw to suppress weeds and retain moisture.
Care & Maintenance regimes for Shallot (Dutch Yellow)
Consistent moisture and balanced nutrition are critical during bulbing. Over-fertilization with nitrogen produces soft, poor-storing bulbs.
| Growth Stage | Water Schedule | Fertilizer Schedule | Pruning / Other |
|---|---|---|---|
| Establishment (0–4 wks) | 2.5 cm/week, keep evenly moist | Side-dress ½ rate balanced organic 3 wks after planting | Remove flower stalks immediately |
| Bulb Swelling (5–10 wks) | 2.5–3 cm/week; reduce as tops yellow | Light potassium-rich feed at 6 wks | Hand-weed only; avoid root disturbance |
| Maturation (11+ wks) | Withhold water 2–3 wks pre-harvest | None | Allow tops to fall naturally |
Pests, Diseases & Organic Management
Common threats include Onion thrips, cutworms, and Botrytis. Practice strict 3–4 year rotation away from all alliums. Floating row covers exclude thrips and cutworm moths during early growth. Apply neem oil or insecticidal soap at first sign of thrips; Bacillus thuringiensis controls cutworms. Copper-based sprays or compost-tea drenches suppress Botrytis during prolonged wet periods.
Harvesting, Curing & Optimal Storage
Harvest when 50–70 % of tops have fallen and necks are soft. Lift carefully with a fork to avoid bruising. Cure in a warm (25–30 °C), well-ventilated area for 10–14 days until necks are completely dry. Store at 0–2 °C and 60–70 % RH; properly cured Dutch Yellow shallots remain sound for 8–10 months.
Companion Planting for Shallot (Dutch Yellow)
Shallots benefit from proximity to Carrot, Beet, and Lettuce which deter pests and utilize different root zones. Avoid planting near Beans or Peas as alliums can inhibit their growth. Interplant with Marigold to repel nematodes and thrips naturally.