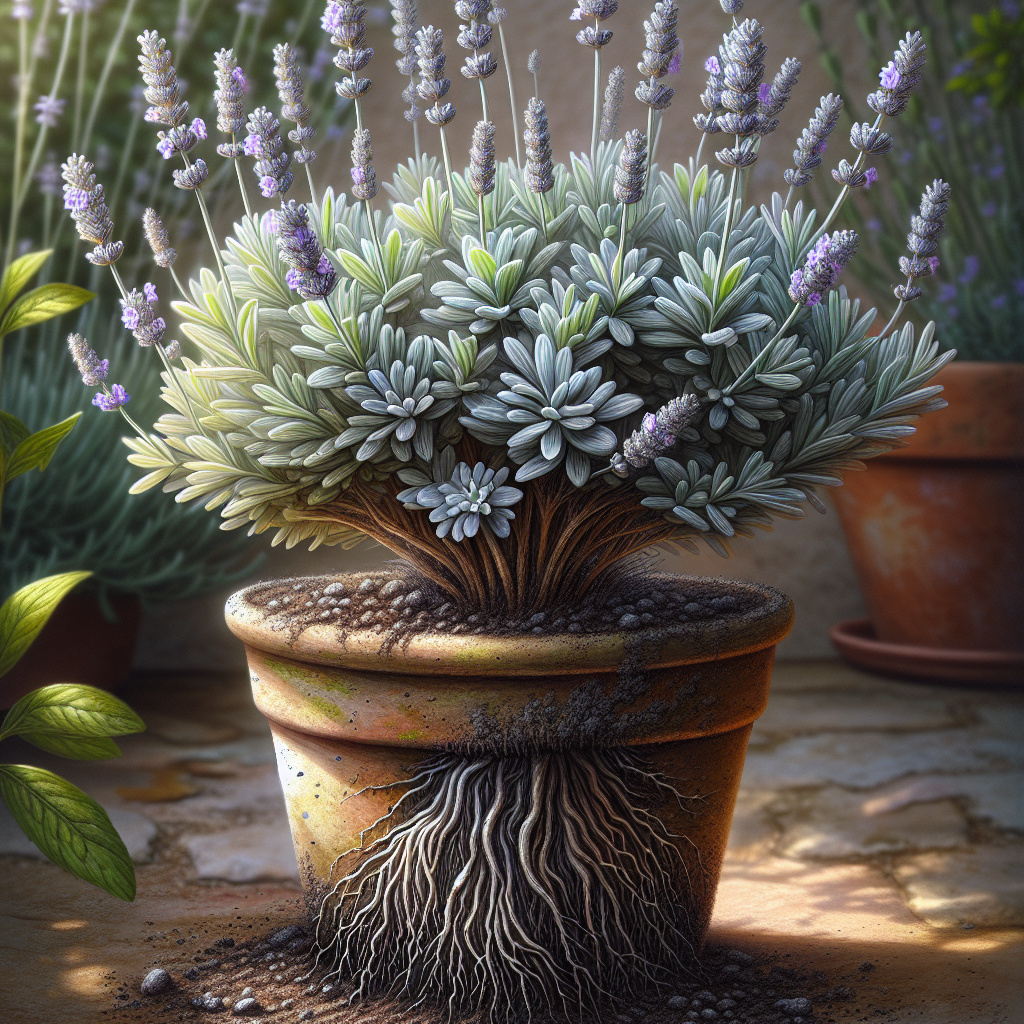
How to Revive Drooping Lavender Plants: Causes, Fixes, and Prevention Guide
Introduction
Lavender plants (Lavandula spp.) are beloved for their aromatic foliage, vibrant purple blooms, and ability to attract pollinators like bees. However, nothing is more disheartening than seeing your once-upright lavender drooping, with limp stems, wilting leaves, and possibly yellowing or browning tips. This common issue signals underlying stress, often related to watering habits, soil conditions, or environmental factors. If left unaddressed, drooping lavender can lead to root rot, stunted growth, or plant death.
The good news? Most cases of drooping lavender are salvageable with prompt, organic intervention. In this comprehensive guide, we'll explore the most common causes of drooping lavender, provide step-by-step organic solutions to bring your plant back to health, and share prevention strategies for long-term success. Whether you're growing English lavender (Lavandula angustifolia), French lavender (Lavandula dentata), or Lavandin hybrids in pots, borders, or rock gardens, these expert tips will help you restore vigor. By understanding lavender's Mediterranean origins--preferring dry, sunny, well-drained conditions--you can turn distress into thriving growth.
Common Causes of Drooping Lavender
Drooping in lavender typically stems from water-related stress, but soil quality, pests, and climate play roles too. Here's a breakdown of the primary culprits:
1. Overwatering and Poor Drainage
The #1 reason for drooping lavender. Native to arid regions, lavender hates "wet feet." Excess water leads to root rot (Phytophthora or Pythium fungi), causing roots to blacken and mush, preventing water uptake. Symptoms include sodden soil, yellowing lower leaves, and sudden wilting despite moist conditions.
2. Underwatering or Drought Stress
Conversely, too little water causes dehydration. Leaves droop to conserve moisture, edges brown, and growth halts. This is common in hot summers or sandy soils without mulch.
3. Improper Soil Conditions
Lavender thrives in gritty, alkaline soil (pH 6.5-7.5). Heavy clay, compacted, or acidic soil retains water, mimicking overwatering. Root-bound plants in small pots also droop from restricted growth.
4. Pests and Diseases
Root aphids, spider mites, or fungal issues like verticillium wilt weaken plants. Pests suck sap, causing droop; diseases block vascular tissue.
5. Environmental Factors
Extreme cold, wind, or transplant shock can cause temporary drooping. Frost damage blackens stems; poor sun (needs 6-8 hours daily) weakens structure.
Use this table to diagnose your lavender's issue:
| Cause | Key Symptoms | Soil Feel | Quick Test |
|---|---|---|---|
| Overwatering | Yellow leaves, mushy roots, foul smell | Wet, heavy | Stick finger 2" deep--if soggy, overwatered |
| Underwatering | Dry, crispy edges, full droop | Dry, dusty | Soil pulls from pot sides |
| Poor Drainage/Soil | Slow droop, stunted growth | Compacted, clayey | Water pools on surface >30 min |
| Pests | Sticky residue, webbing, tiny bugs | Variable | Inspect undersides of leaves |
| Cold/Transplant | Blackened stems, wilting post-move | Variable | Recent weather/frost exposure |
Early diagnosis prevents escalation. Gently dig around the base to check roots: healthy ones are white/firm; rotten are brown/soft.
Step-by-Step Organic Solutions
Reviving drooping lavender requires patience--expect improvement in 1-4 weeks. Always prioritize organic methods to maintain plant health and soil biology.
Step 1: Stop Watering and Assess Moisture
- Immediately cease all watering for 7-10 days or until soil dries 2-3 inches deep.
- Use a moisture meter or the finger test. Lavender prefers soil like a wrung-out sponge.
- If potted, lift the pot: heavy = too wet; light = dry.
Step 2: Inspect and Treat Roots
- Gently remove from soil (for pots) or dig a small trench (in-ground).
- Rinse roots with hydrogen peroxide solution (1 part 3% H2O2 to 10 parts water) to kill rot-causing fungi organically.
- Trim dead roots with sterilized pruners (10% bleach dip). Healthy roots should remain.
- For severe rot, propagate cuttings: snip 4-6" healthy stems, dip in rooting hormone (willow water: soak willow twigs overnight), plant in sand/perlite.
Step 3: Repot or Amend Soil
- Choose well-draining mix: 50% potting soil, 30% coarse sand/grit, 20% perlite/pumice. Add dolomite lime for pH adjustment (1 tbsp/gallon).
- Repot in terracotta pots (porous) with drainage holes. Elevate in-ground plants with gravel mounds.
- Similar to caring for drought-tolerant herbs like Thyme, ensure gritty texture.
Step 4: Prune and Support
- Prune aggressively: Remove 1/3-1/2 of foliage, cutting to woody stems. Shape into a mound.
- Stake floppy stems with bamboo and twine for support.
- Apply organic seaweed kelp extract (diluted per label) as a foliar spray for nutrients and stress recovery.
Step 5: Organic Pest and Disease Control
- For pests: Blast with water hose; apply neem oil (1 tsp/quart water + drop dish soap) weekly.
- Fungal issues: Dust with cinnamon (antifungal) or chamomile tea spray.
- Introduce beneficial nematodes for root pests (available at garden stores).
Step 6: Optimal Watering Schedule
- Water deeply but infrequently: 1 inch/week max, only if top 2" dry.
- Early morning watering reduces evaporation. Use drip irrigation to target roots.
- Mulch with pea gravel (not organic mulch, which retains moisture).
Step 7: Provide Ideal Conditions
- Full sun (6-8 hours), sheltered from wind.
- Protect from frost with cloches or fleece.
- Fertilize sparingly: once spring with organic compost tea.
Timeline for Recovery:
| Week | Action Priority | Expected Progress |
|---|---|---|
| 1 | Stop water, inspect/trim roots | Stabilized droop, drier soil |
| 2-3 | Repot, prune, first organic spray | New growth buds, firmer stems |
| 4+ | Resume minimal water, mulch | Upright posture, green leaves |
Monitor weekly. If no improvement after 4 weeks, propagate new plants.
Prevention Tips for Healthy Lavender
Prevention beats cure. Here's how to keep lavender upright and blooming:
Site Selection: Sunny, south-facing spots with air circulation. Avoid low-lying frost pockets.
Soil Preparation: Test pH (kits available); amend with lime/sand yearly. Raised beds excel for clay soils.
Planting Best Practices: Space 18-24" apart. Plant crown above soil level to prevent rot.
Watering Discipline: "Soak and dry" cycle. Install rain gauges; adjust for rainfall.
Annual Maintenance:
- Spring: Prune 1/3 after bloom.
- Fall: Light trim, gravel mulch.
- Companion plant with rosemary, Onion, or Nasturtium for pest deterrence.
Winter Care: In cold zones (USDA 5-9), mulch crowns lightly; pot and overwinter indoors.
Variety Choice: Heat-tolerant 'Provence' or cold-hardy 'Munstead' suit climates better.
By mimicking lavender's dry native habitat, you'll enjoy 10+ years of blooms. Pair with similar crops like Potato in rotation for soil health.
With these organic strategies, your drooping lavender can rebound stronger. Happy gardening!