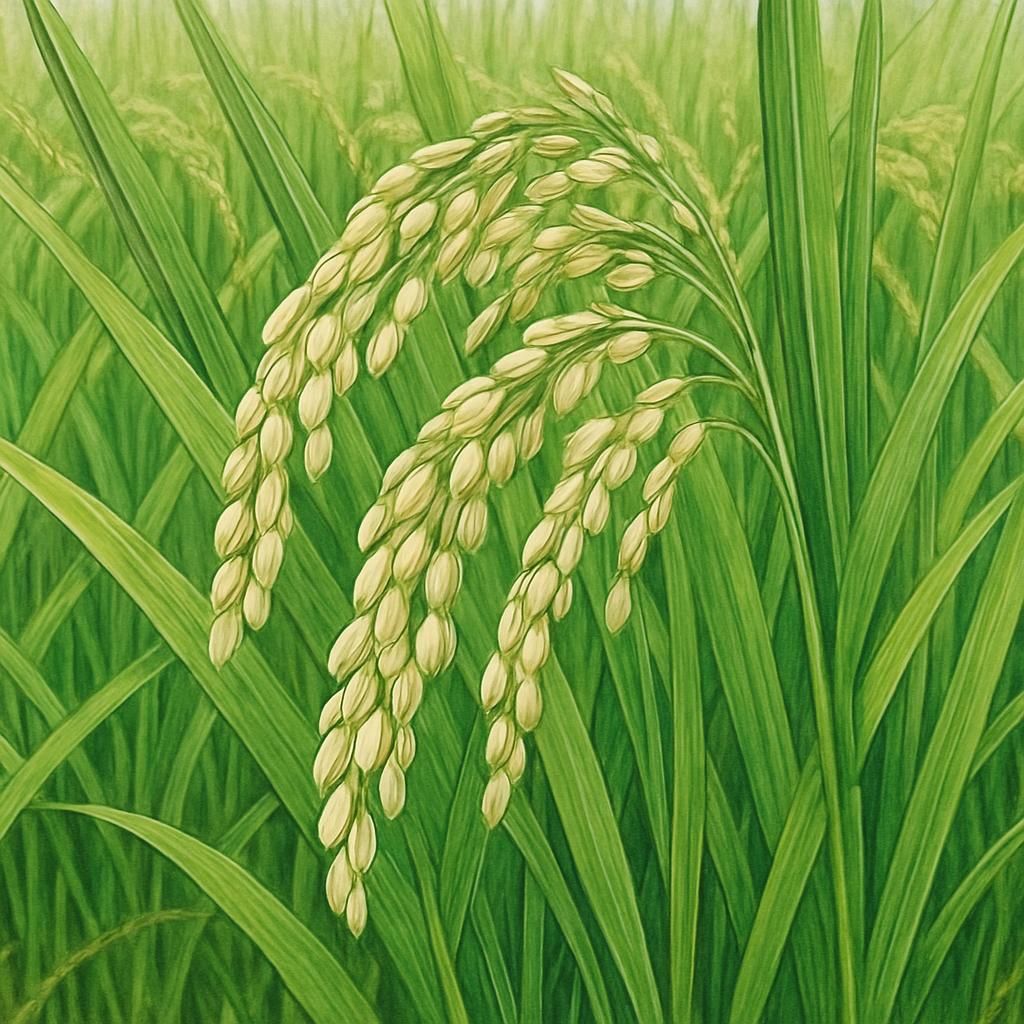
Introduction to Milky Queen Rice
Milky Queen Rice, a premium short-grain rice variety, is celebrated for its soft, sticky texture and sweet aroma, making it a favorite choice in Japanese cuisine, particularly for sushi. Derived from the popular Koshihikari rice, Milky Queen is an innovation aimed at combining the excellent qualities of its predecessor with improved characteristics.
Botanical Profile of Milky Queen Rice
Milky Queen Rice is a cultivar of the species Oryza sativa, belonging to the Poaceae family. It features short, plump grains with a shiny luster and is characterized by its distinctive milky white appearance. The grain offers excellent culinary performance, retaining moisture and achieving a desirable sticky quality after cooking.
Soil, pH, and Climate Requirements for Milky Queen Rice
Milky Queen Rice thrives best in specific conditions, outlined below:
| Parameter | Ideal Range |
|---|---|
| Soil Type | Clayey, Silty, Loamy |
| Soil pH | 5.5 - 6.5 |
| Temperature | 20°C - 30°C (68°F - 86°F) |
| Rainfall | 1000 - 2000 mm per year |
| Sunlight | Full sun |
The rice prefers a subtropical climate with a reliable water source, essential for maintaining the traditional inundated fields.
Step-by-Step Planting & Propagation
- Field Preparation: Prior to planting, fields should be plowed and leveled to ensure even water coverage and to eliminate weeds.
- Seed Selection and Soaking: Use certified seeds to ensure high germination rates. Soak seeds in water for 24 hours, then drain and incubate for 48 hours until they begin to sprout.
- Sowing: Plant seeds at a density of around 80-100 kg per hectare. Seeds can be broadcasted manually on wet soil or planted in rows with mechanical planters.
- Irrigation Management: Maintain a shallow water layer of 2-5 cm depth during the early stages. Increase the water level progressively as the plant grows.
- Nutrient Application: Follow a balanced fertilizer program with a focus on Nitrogen, Phosphorus, and Potassium based on soil test results.
Care & Maintenance Regimes for Milky Queen Rice
Proper care is crucial for optimal growth:
| Activity | Schedule |
|---|---|
| Watering | Maintain continuous water layer, increasing to 10 cm in later stages |
| Fertilizing | Initial dose at planting; further application at tillering and panicle initiation stages |
| Pest Control | Regular monitoring for Spider Mites and other pests |
Weed Control
- Regularly monitor and remove weeds manually or with cultural practices to prevent competition for nutrients.
Disease Monitoring
- Watch for common fungal diseases; early detection allows for effective organic or chemical treatments.
Pests, Diseases & Organic Management
Milky Queen Rice is susceptible to various pests such as Spider Mites, which are managed through careful monitoring and the use of organic solutions. Common diseases include bacterial and fungal afflictions that can be mitigated with crop rotation and maintaining proper field hygiene.
Harvesting, Curing & Optimal Storage
- Harvesting: Milky Queen Rice is typically ready for harvest 120-130 days after planting. Harvest when grains are fully mature and golden in color.
- Curing: Dry the harvested grains in sun or air-dryers until the moisture content reaches approximately 14%.
- Storage: Store in a cool, dry place, preferably in jute bags or airtight containers to prevent infestations and maintain quality.
Companion Planting for Milky Queen Rice
Companion planting can enhance growth by utilizing mutualistic plant relationships. Consider planting Lychee on field margins to provide shade and support beneficial insect populations, thus aiding in pest management.
For further reading on companion planting strategies, visit our blog on Summer Companion Planting: 10 Organic Pairings to Boost Small Farm Resilience.