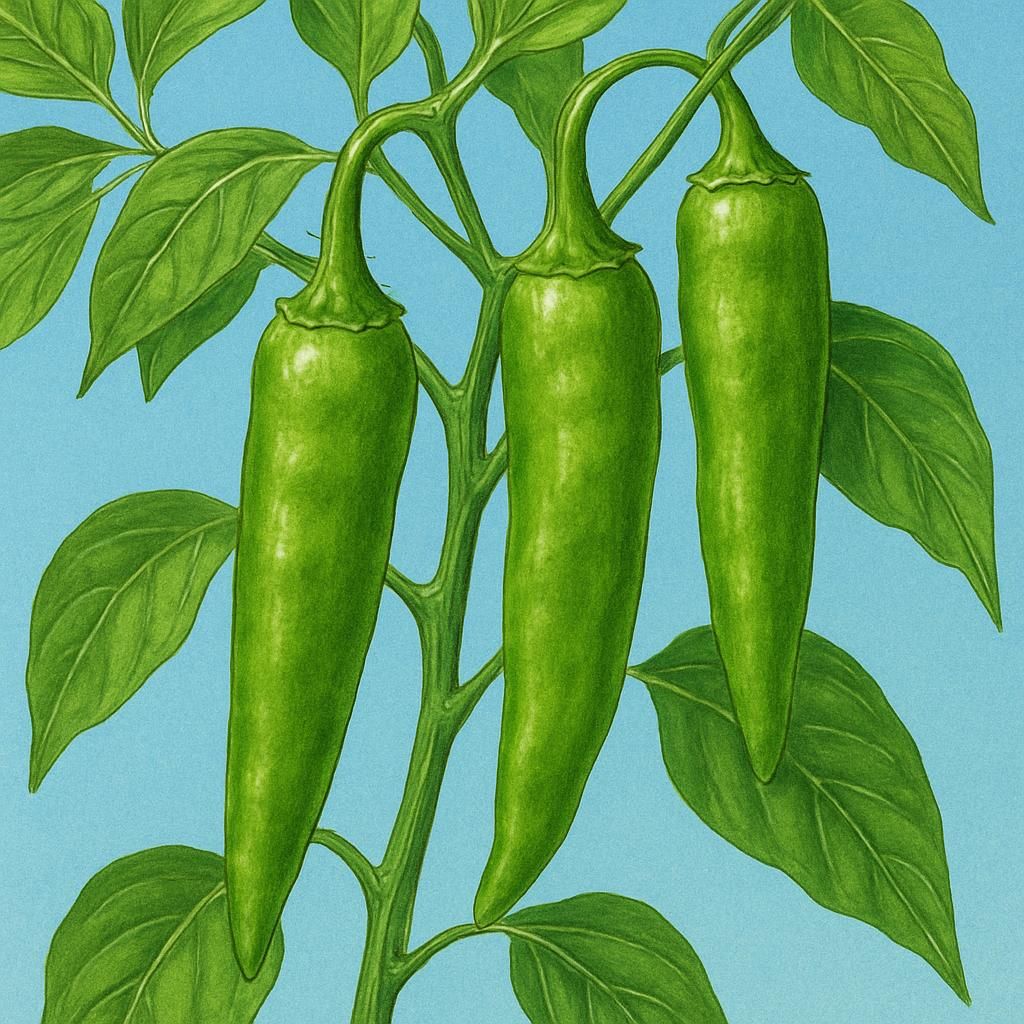
Introduction to Hatch Green Chili
Hatch Green Chilis are a favorite among those who appreciate the distinctive flavor they bring to dishes. Grown primarily in the Hatch Valley of New Mexico, these chilis are celebrated during the annual Hatch Chile Festival. Hatch Green Chilis are known for their vibrant green color and a heat level that can vary depending on the specific variety and growing conditions. They are a central ingredient in Southwestern cuisine and can be roasted, baked, or used fresh in numerous culinary applications.
Botanical Profile of Hatch Green Chili
The Hatch Green Chili is scientifically named Capsicum annuum, which belongs to the Solanaceae family. This species includes a variety of peppers ranging from sweet bell peppers to spicy hot chilis. These plants are typically bushy, enduring, and grow up to 1.2 meters in height. The chilis themselves are elongated, tapering to a semi-blunt tip, with a glossy exterior that changes color from green to red as they mature.
Soil, pH, and Climate Requirements for Hatch Green Chili
To grow Hatch Green Chilis effectively, it is crucial to provide the right environmental conditions. The following table outlines the ideal conditions for growing Hatch Green Chilis:
| Factor | Ideal Conditions |
|---|---|
| Soil Type | Loamy, well-draining soil |
| Soil pH | 6.0 - 7.0 |
| Sunlight | Full sun (6-8 hours daily) |
| Temperature | 70-85°F (21-30°C) during the day |
| Rainfall | 20-30 inches annually |
| Humidity | Moderate |
Hatch Chilis thrive in warm temperatures and a long growing season, characteristic of their native Hatch Valley. They require a well-draining soil, rich in organic matter. The pH should be slightly acidic to neutral, between 6.0 and 7.0.
Step-by-Step Planting & Propagation
Seed Selection: Choose high-quality seeds from a reliable source. Opt for certified Hatch seeds to guarantee the authentic flavor.
Soil Preparation: Prepare the soil by tilling it to a depth of 12 inches and incorporate compost or aged manure. This enriches the soil with nutrients and improves its structure.
Planting Time: Plant seeds indoors 8-10 weeks before the last expected frost date. Seeds should be planted 1/4 inch deep in seedling trays filled with seed-starting mix.
Transplanting: Transplant seedlings outdoors when they reach 4-6 inches in height and after all danger of frost has passed.
Spacing: Space plants about 18-24 inches apart in rows that are 24-36 inches apart to ensure adequate air circulation.
Watering: Water seedlings immediately after transplanting and maintain consistent moisture throughout the growth period, especially during flowering and fruiting stages.
Mulching: Apply mulch around the base of each plant to retain moisture and suppress weeds.
Care & Maintenance regimes for Hatch Green Chili
Achieving healthy and fruitful Hatch Chili plants involves consistent care routines. Below is a table summarizing recommended schedules for water, fertilizer, and pruning:
| Regime | Schedule |
|---|---|
| Watering | 1-2 inches per week; increased during hot spells |
| Fertilizer | Balanced 10-10-10 fertilizer every 4-6 weeks |
| Pruning | Remove yellowing leaves and non-producing stems |
Regular watering is crucial for these plants, especially during dry spells. Fertilization should be conducted every 4-6 weeks with a balanced fertilizer to promote healthy growth and fruit production. Prune carefully to maintain plant shape and air circulation.
Pests, Diseases & Organic Management
Hatch Green Chilis can be affected by pests like Spider Mites and diseases such as Verticillium Wilt. Organic management includes:
- Physical Barriers: Use row covers to shield plants from pests.
- Natural Predators: Encourage beneficial insects like ladybugs that consume pest insects.
- Neem Oil: Apply neem oil as an organic pesticide to manage pests.
- Crop Rotation: Regularly rotate crops to mitigate soil-borne diseases.
For more comprehensive strategies, explore Crop Diseases Under the Microscope: 9 Organic Fixes for Small Farm Resilience.
Harvesting, Curing & Optimal Storage
Harvest Hatch Green Chilis when they reach full size and a firm texture, which is typically around 80-90 days after planting. Cut the chilis off at the stem using scissors or a pruner to avoid damaging the plant.
- Curing: For drying, chilis can be hung in a warm, dry area with circulating air. This process enhances flavor and allows the skins to toughen.
- Storage: Fresh chilis can be stored in a refrigerator for up to 2 weeks or frozen for longer preservation. Dry chilis can be stored in an airtight container in a cool, dark place for months.
Companion Planting for Hatch Green Chili
Companion planting can enhance the growth of Hatch Chilis by attracting beneficial insects and deterring pests. Consider planting with the following:
- Basil: Enhances flavor and repels some insect pests.
- Garlic and Onions: Help deter aphids and other pests.
- Marigold: Repels nematodes below the soil.
To optimize yields through companion planting techniques, refer to Summer Companion Planting: 10 Organic Pairings to Boost Small Farm Resilience.