Introduction
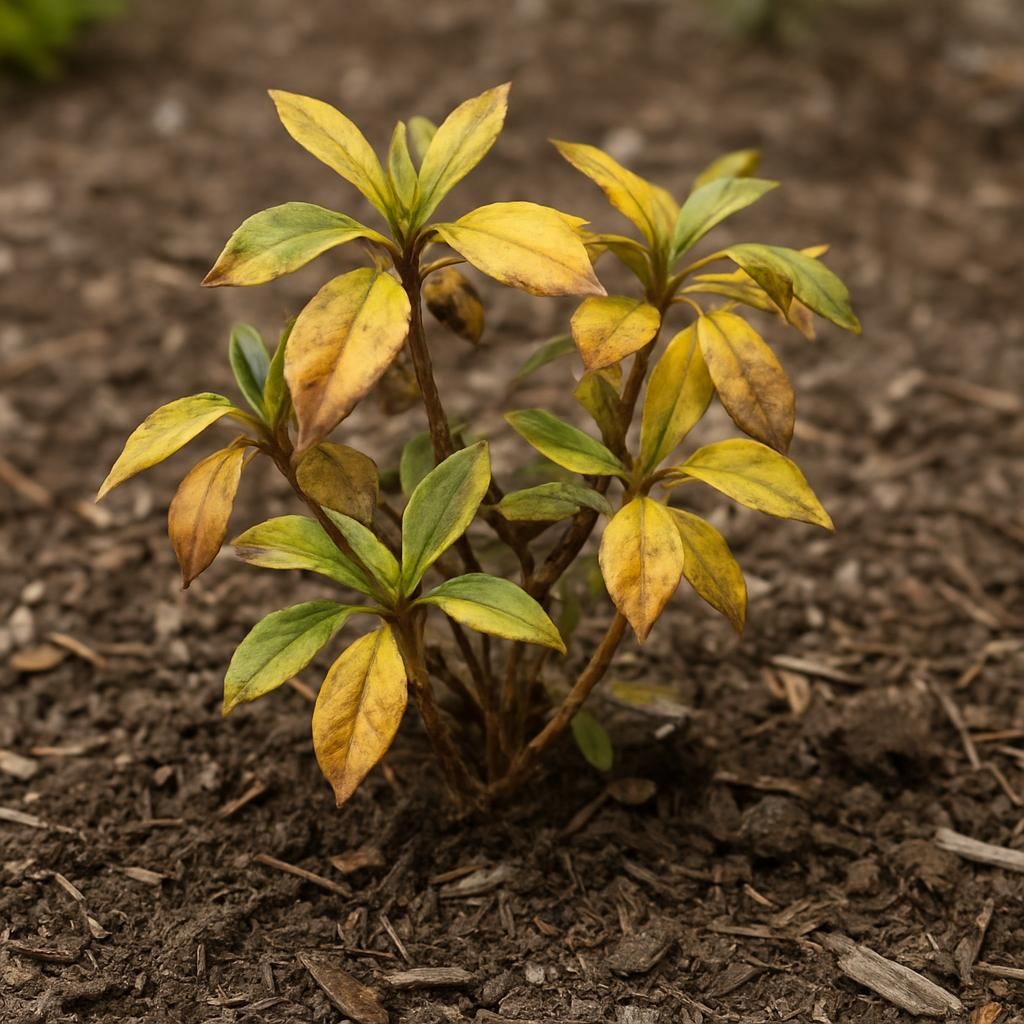
Azaleas planted just one month ago often show signs of stress such as wilting, yellowing leaves, or stunted growth. These symptoms frequently stem from transplant shock combined with unsuitable soil conditions or watering practices. This guide provides practical, organic methods to diagnose the problem and restore your Azalea to vigorous health while ensuring it thrives for years.
Common Causes
Several factors commonly affect newly planted azaleas. Understanding these helps target the right solution.
Soil pH Imbalance
Azaleas require acidic soil with a pH between 4.5 and 6.0. Alkaline conditions prevent nutrient uptake, leading to yellow leaves and weak stems.
Watering Issues
Both overwatering and underwatering cause decline. Poor drainage leads to root rot, while insufficient moisture stresses the plant during establishment.
Transplant Shock and Root Damage
Moving from a container to garden soil disrupts roots. Compacted soil or lack of organic matter exacerbates this stress.
Nutrient Deficiencies
Low levels of iron, nitrogen, or magnesium appear as chlorosis. These often trace back to pH problems rather than actual soil shortages.
Pests and Environmental Stress
Aphids, lace bugs, or extreme temperatures can weaken plants. Shade-loving azaleas suffer in full sun or harsh winds.
Step-by-Step Organic Solutions
Follow these steps in order to address the most likely causes first.
Step 1: Assess and Adjust Soil pH
Test soil pH with a home kit. If above 6.0, incorporate organic amendments gradually.
- Mix pine needles, peat moss, or aged oak leaves into the top 6 inches of soil around the root zone.
- Apply elemental sulfur at 1 pound per 100 square feet for moderate adjustments, retesting after 4-6 weeks.
Step 2: Improve Drainage and Watering
Ensure the planting site drains well. Create a raised bed if needed.
- Water deeply once or twice weekly, providing 1 inch of water total, allowing the top inch of soil to dry between sessions.
- Apply a 2-3 inch layer of pine bark mulch to retain moisture and suppress weeds without touching the stem.
Step 3: Support Root Recovery
Minimize further disturbance. Use diluted seaweed extract or compost tea monthly during the growing season to encourage root growth.
Step 4: Address Nutrient Needs Organically
Apply chelated iron or fish emulsion if yellowing persists after pH correction. Avoid synthetic fertilizers that can burn sensitive roots.
Step 5: Monitor and Protect from Pests
Inspect leaves weekly. Spray with neem oil or insecticidal soap for aphids and lace bugs. Provide afternoon shade during heat waves.
Prevention Tips
Establishing proper conditions prevents future problems.
| Practice | Recommendation | Frequency |
|---|---|---|
| Soil Testing | Check pH and nutrients | Every spring |
| Mulching | Maintain 2-3 inches of organic mulch | Annually in spring |
| Watering | Deep, infrequent sessions | Weekly during dry periods |
| Pruning | Remove dead wood after flowering | Once yearly |
| Companion Planting | Pair with acid-loving species such as Blueberry or Raspberry | At planting time |
Consistent monitoring during the first two years after planting yields the best long-term results. With acidic soil, balanced moisture, and organic care, your azalea will develop strong roots and abundant blooms season after season.