Introduction
Overwatering remains one of the most common reasons houseplants decline or die, often outpacing the damage caused by underwatering. When soil stays saturated, roots lose access to oxygen and become vulnerable to rot, leading to yellowing leaves, wilting, and eventual plant loss. This guide explains how to recognize the problem early, understand its root causes, apply step-by-step organic solutions, and adopt prevention habits that keep indoor plants thriving.
Common Causes
Several factors contribute to overwatering. The most frequent include:
- Poor drainage: Pots without sufficient holes or heavy soil mixes that retain excess moisture.
- Inconsistent monitoring: Watering on a fixed schedule rather than checking actual soil moisture.
- Environmental mismatches: High humidity combined with low light slows evaporation and increases water retention.
- Root-bound conditions: Plants whose roots fill the pot have reduced soil volume and dry out more slowly.
These issues create a cycle where the plant appears thirsty (wilting) even though the soil is wet, prompting further watering that worsens the problem.
Step-by-Step Organic Solutions
Follow this sequence to rescue and restore overwatered houseplants using natural methods.
1. Assess and Diagnose
Gently remove the plant from its pot and inspect the roots. Healthy roots appear white or light tan and firm. Dark, mushy roots indicate rot. Trim affected sections with clean shears, then allow the root ball to air-dry for several hours in a shaded area.
2. Improve Drainage Immediately
Repot using a well-aerated mix of equal parts potting soil, perlite, and orchid bark or coconut coir. Choose containers with multiple drainage holes. Place a layer of coarse gravel or clay shards at the bottom only if the holes are large enough to prevent soil loss.
3. Adjust Watering Technique
Water thoroughly until liquid flows freely from the bottom, then empty the saucer. Wait until the top 2-3 cm of soil feels dry before watering again. For most houseplants, this means watering every 7-14 days depending on season and light.
4. Boost Soil Biology
Incorporate a light top-dressing of compost or worm castings to encourage beneficial microbes that help break down excess moisture and support root recovery. Avoid synthetic fertilizers until new growth appears.
5. Optimize Placement
Move plants to locations with bright, indirect light and moderate airflow. This accelerates surface drying without stressing foliage. Rotate pots weekly for even exposure.
Prevention Tips
Establishing consistent routines prevents recurrence.
- Test soil moisture with a wooden skewer or moisture meter before every watering.
- Group plants by water needs rather than aesthetics.
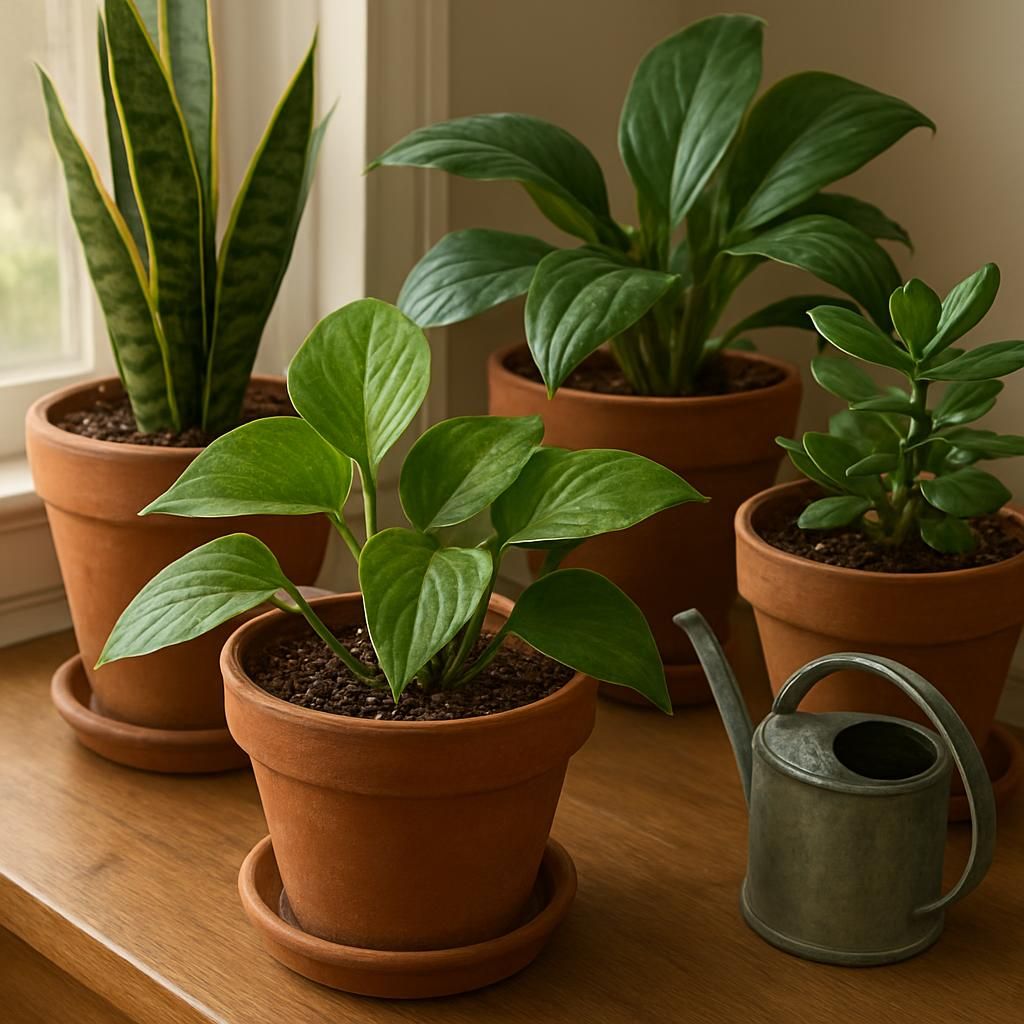
- Use terracotta or fabric pots that allow faster evaporation.
- Reduce watering frequency during winter when growth slows.
- Monitor humidity with a simple hygrometer and adjust misting accordingly.
| Plant Type | Typical Water Interval (Bright Light) | Typical Water Interval (Low Light) | Preferred Soil Mix |
|---|---|---|---|
| Tomato | 5-7 days | 10-14 days | Well-draining with perlite |
| Lemon | 7-10 days | 14-21 days | Sandy loam + compost |
| Avocado | 7-10 days | 12-18 days | Coarse mix with bark |
Regular observation combined with these adjustments dramatically reduces plant loss. Over time, you will develop an intuitive sense for each plant's needs, replacing rigid schedules with responsive care.
For additional guidance on soil health for edible crops grown indoors, explore resources on Tomato, Lemon, and Avocado.