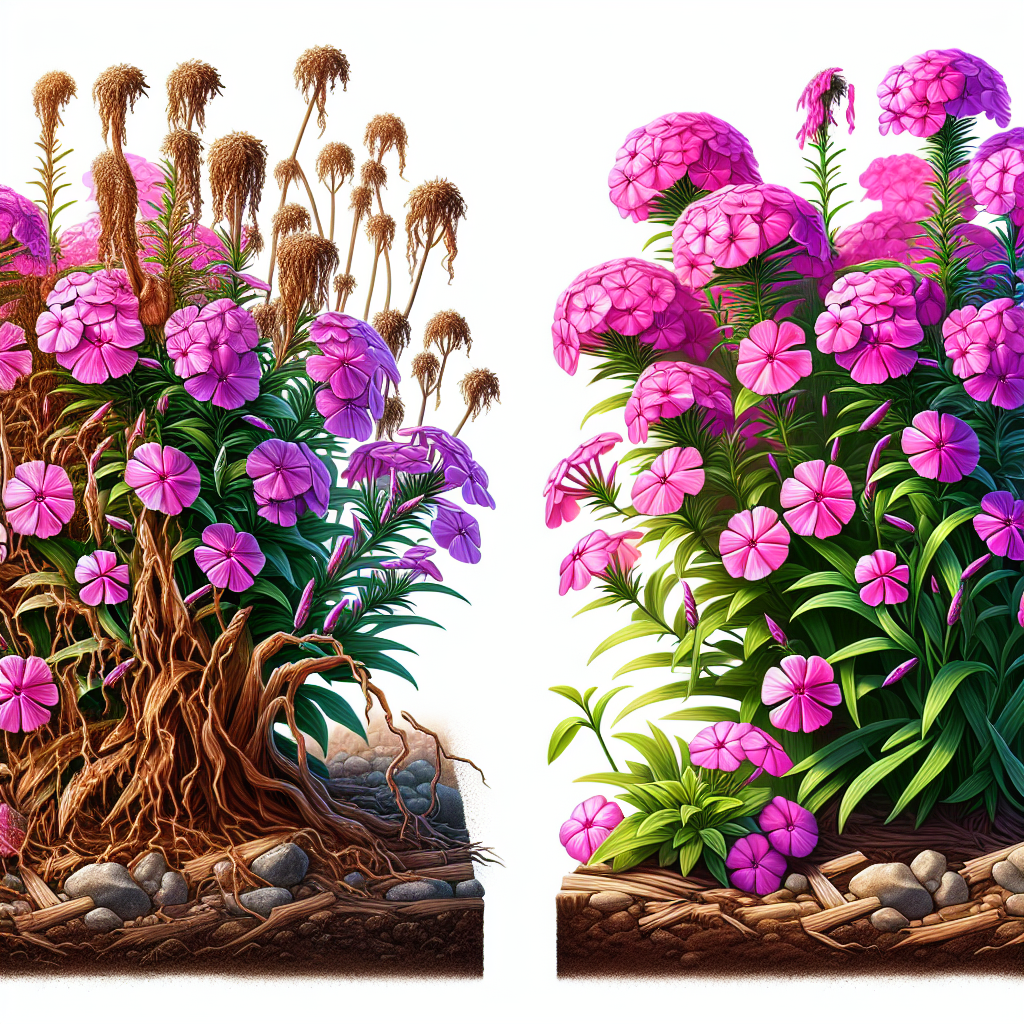
How to Diagnose and Revive Pink Creeping Phlox Not Thriving in Gardens
Pink creeping phlox (Phlox subulata), with its masses of vibrant pink flowers in spring, is a popular evergreen ground cover for rock gardens, slopes, and borders. However, gardeners often notice their plants looking leggy, yellowing, sparse, or simply not thriving--failing to spread vigorously or produce those signature blooms. This issue can stem from environmental stress, care mistakes, or underlying health problems. Don't worry; most cases are fixable with organic methods. In this comprehensive guide, we'll explore the root causes, provide actionable step-by-step solutions, and share prevention tips to ensure your phlox flourishes year after year.
Common Causes of Pink Creeping Phlox Decline
Understanding why your phlox isn't thriving is the first step to recovery. Here are the most frequent culprits, based on years of observing garden performance:
1. Poor Soil Drainage and Root Rot
Creeping phlox demands well-drained soil. Heavy clay or waterlogged beds lead to root rot from fungi like Phytophthora. Symptoms include wilting despite moist soil, black roots, and mushy stems. Pink varieties are especially susceptible in humid climates.
2. Insufficient Sunlight
This sun-lover needs 6-8 hours of direct sun daily. Too much shade causes leggy growth, fewer flowers, and pale foliage. Partial shade might work in hot regions, but inadequate light is a top killer.
3. Nutrient Imbalances or Poor Soil Quality
Phlox thrives in slightly acidic to neutral soil (pH 6.0-7.0). Nitrogen deficiency shows as yellowing lower leaves, while phosphorus shortages stunt blooms. Compacted or low-organic-matter soil exacerbates this.
4. Overwatering or Underwatering
Inconsistent moisture stresses roots. Overwatering mimics drought symptoms (droopy leaves), while underwatering causes crisp edges and sparse growth. Pink phlox signals distress with floppy stems.
5. Pests and Diseases
Spider mites create stippled leaves and webbing; aphids cause curled tips. Powdery mildew (white coating) hits in humid, crowded spots. Root rot fungi thrive in wet conditions.
6. Winter Damage, Transplant Shock, or Overcrowding
Harsh winters heave roots; recent transplants struggle without proper acclimation. Mature clumps become woody and sparse if not divided every 3-4 years.
Identifying the cause often requires digging up a small section to check roots and soil.
Step-by-Step Organic Solutions to Revive Your Phlox
Follow these practical, organic steps to bring your pink creeping phlox back to life. Act quickly--early intervention boosts success rates to over 80%.
Step 1: Diagnose Thoroughly (1-2 Days)
- Inspect above ground: Note yellowing, wilting, spots, or pests. Use a magnifying glass for mites.
- Check roots: Gently dig around one plant. Healthy roots are white/firm; rotten ones are brown/mushy.
- Test soil: Use a DIY kit for pH and moisture. Squeeze soil--if it drips water, drainage is poor.
- Assess site: Track daily sun hours with an app or observation.
Step 2: Improve Soil Drainage and Structure (Immediate)
- Lift struggling plants carefully, rinse roots, and trim rot with sterilized shears (10% bleach dip).
- Amend soil organically:
- Mix in 30-50% compost or aged pine bark for aeration.
- Add grit or perlite (20%) for rocky, free-draining texture phlox loves.
- Raise beds 6-12 inches if drainage can't be fixed.
- Replant at original depth, spacing 12-18 inches apart. Water lightly to settle.
Step 3: Optimize Watering Practices
- Water deeply but infrequently: 1 inch per week, allowing top 2 inches to dry.
- Use soaker hoses or drip irrigation to target roots, avoiding foliage.
- Mulch with 2 inches of shredded bark or pine needles to retain moisture and suppress weeds--but keep mulch away from stems.
- In pots, ensure pots have drainage holes; repot into gritty mix if needed.
Step 4: Fertilize Organically for Nutrient Boost
- Apply a balanced organic fertilizer like fish emulsion or compost tea (5-10-10 NPK ratio) at half strength in early spring.
- For blooms, side-dress with bone meal (phosphorus-rich) or rock phosphate.
- Foliar feed with diluted seaweed extract weekly for micronutrients.
- Avoid high-nitrogen feeds, which promote leaves over flowers.
Step 5: Combat Pests and Diseases Naturally
- For spider mites/aphids: Blast with strong water stream; apply neem oil (1 tsp/quart water + few drops dish soap) evenings, weekly.
- Powdery mildew: Improve air circulation; spray milk solution (1 part milk to 9 parts water) bi-weekly.
- Beneficial insects: Release ladybugs or lacewings; plant neem or garlic sprays as repellents.
- Remove debris to break disease cycles.
Step 6: Prune, Divide, and Rejuvenate
- After flowering (late spring), shear back by 1/3 to encourage bushiness.
- Every 3 years, divide clumps: Dig up, separate with knife, replant divisions.
- For winter damage, mulch heavily post-frost; remove dead parts in spring.
Monitor progress over 4-6 weeks. New growth indicates success; if not, consider replacing with disease-resistant cultivars like 'Candy Stripe'.
Prevention Tips for Thriving Pink Creeping Phlox
Prevention beats cure. Here's how to keep your phlox vigorous:
- Site Selection: Choose full sun, sloped, or raised areas. Pair with companions like Thyme or Yarrow for pest deterrence and soil health.
- Soil Prep: Annually top-dress with compost. Test pH yearly; lime if below 6.0.
- Water Wisely: Mulch religiously; use rain barrels for chemical-free water.
- Maintenance Routine:
- Spring: Fertilize, prune lightly.
- Summer: Deadhead spent blooms.
- Fall: Divide if crowded, mulch for winter.
- Plant Diversity: Interplant with Nasturtium to attract pollinators and repel pests.
- Organic Vigilance: Scout weekly; encourage biodiversity with native plants.
With these strategies, your pink creeping phlox will form lush mats, blooming profusely each spring. Expect 12-18 inch spreads per season in optimal conditions. Patient gardeners see returns in year two.
(Word count: 912)