Introduction
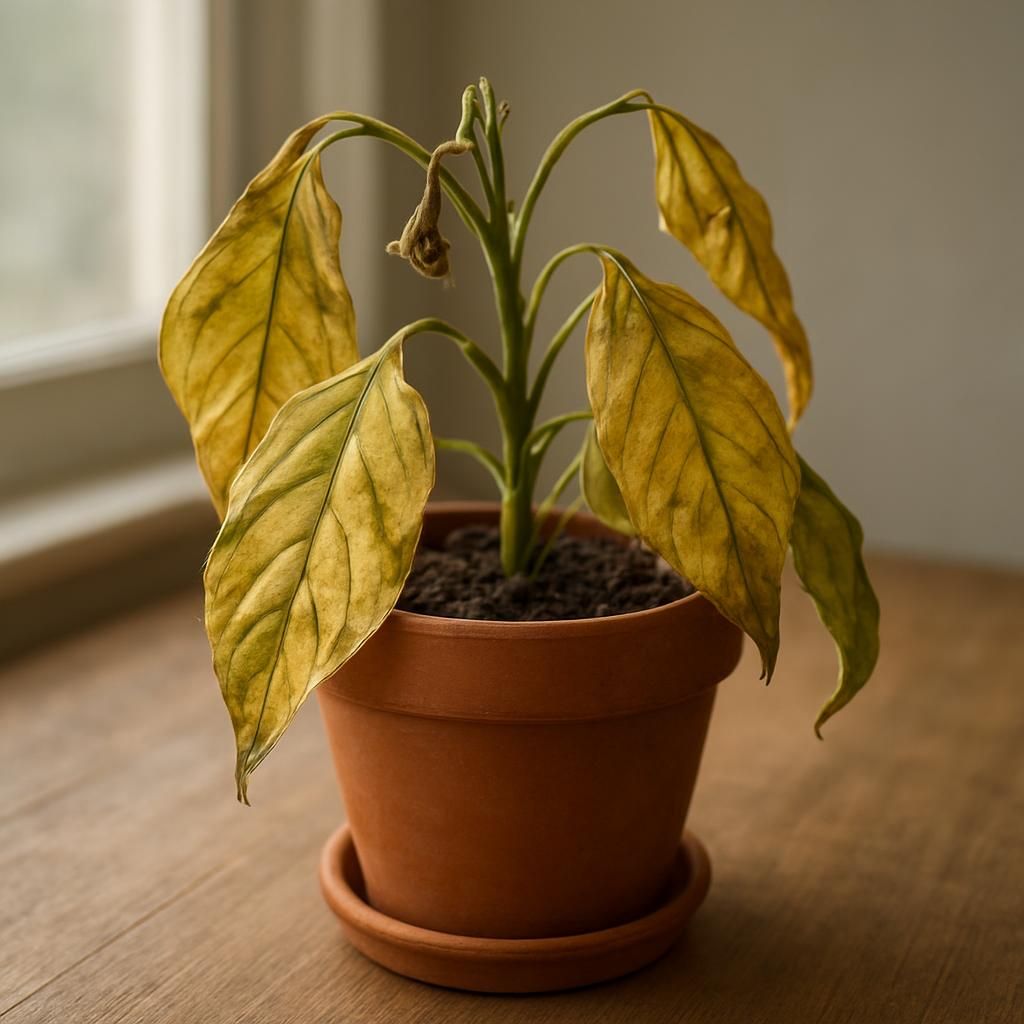
Seeing a plant wilt, yellow, or drop leaves can be alarming, especially when you have invested time and care into your garden or indoor collection. The question "Why is my plant dying?" often stems from subtle environmental mismatches rather than dramatic events. This guide walks through systematic diagnosis and organic recovery methods that address the most frequent issues gardeners encounter. By observing symptoms carefully and responding with targeted adjustments, you can often bring plants back from the brink without synthetic chemicals.
Common Causes
Plant decline rarely has a single trigger. Most problems arise from imbalances in water, light, nutrients, or pests. The table below summarizes the leading causes and their typical indicators.
| Cause | Common Symptoms | Affected Plant Parts | Typical Onset |
|---|---|---|---|
| Watering issues | Wilting, yellowing, root rot | Leaves, roots | Days to weeks |
| Insufficient light | Leggy growth, pale leaves, no blooms | Stems, foliage | Weeks to months |
| Nutrient deficiency | Yellow veins, stunted growth, leaf spots | Older or newer leaves | Weeks |
| Pest infestation | Holes, sticky residue, webbing | Leaves, stems | Days to weeks |
| Disease or fungi | Powdery mildew, black spots, collapse | Leaves, entire plant | Weeks |
| Temperature stress | Leaf scorch, sudden drop | Leaves, flowers | Hours to days |
Overwatering remains the number one killer of both garden vegetables such as Tomato and houseplants because it deprives roots of oxygen. Underwatering produces similar wilting but with dry, crispy leaf edges. Poor drainage compounds either problem.
Step-by-Step Organic Solutions
Follow this sequence to assess and treat your plant.
1. Assess the Growing Environment
Examine soil moisture by inserting a finger two inches deep. If it feels soggy, stop watering immediately and improve drainage by adding perlite or moving the plant to a pot with larger holes. For outdoor beds, incorporate compost to enhance aeration.
2. Evaluate Light Exposure
Most edible crops and many ornamentals need at least six hours of direct sun. Relocate shade-stressed plants gradually to brighter spots. Use sheer curtains for indoor specimens to prevent leaf burn during transition.
3. Check for Pests Organically
Inspect leaf undersides for aphids, spider mites, or scale. A strong spray of water followed by neem oil diluted at 1 teaspoon per quart of water controls most soft-bodied insects. Repeat every five days for two weeks.
4. Correct Nutrient Imbalances
Yellowing between leaf veins often signals magnesium shortage. Apply an organic seaweed or compost tea every two weeks. For container plants, top-dress with worm castings to supply slow-release nutrition.
5. Address Disease
Remove and destroy infected leaves. Improve air circulation by spacing plants properly. A baking-soda spray (1 teaspoon per quart of water plus a drop of dish soap) helps suppress powdery mildew on crops such as Cucumber.
6. Monitor Recovery
New growth within two to four weeks indicates success. Prune dead stems only after fresh shoots appear to avoid stressing the plant further.
Prevention Tips
- Water only when the top inch of soil is dry; adjust frequency seasonally.
- Choose disease-resistant varieties suited to your climate zone.
- Rotate annual crops yearly to break pest and disease cycles.
- Mulch beds with 2-3 inches of organic material to stabilize soil moisture and temperature.
- Quarantine new plants for two weeks before introducing them to established collections.
- Test soil pH annually and amend with lime or sulfur as needed for balanced nutrient uptake.
Consistent observation prevents most decline. Keep a simple garden journal noting watering dates, weather, and visible changes so patterns become easier to spot over time. With these organic-first practices, the majority of struggling plants regain vigor and continue producing healthy foliage and harvests.